Art With Canvas & Painters Tape
This art project is one that I not only found, but bought the supplies for last year! I got the inspiration from a post I saw over at The Homeschool Classroom. The problem is that we never got around to doing it then so I finally dug it out for our November art project. One of the things I love about this one is that all three kids can participate at their own levels. Each one of them chose slightly different approaches that I will highlight throughout the steps of this project.
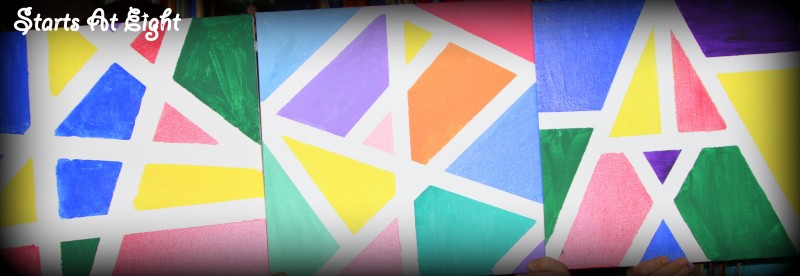
Supplies Needed:
* canvas (any size, any shape)
* painters tape (we just used masking tape)
* acrylic paints
* paint supplies such as brushes and a painters palate
Step One:
The first thing you need to do is have your children tape off shapes on their canvas. Encourage them to make distinct shapes, and to thoroughly push down the edges of their tape so the paint does not leak under. Chloe (age 13), and Jayden (age 10) had no problem doing this themselves.
With Ava being younger (age 6) she was unsure how to begin. Having younger ones start with the shape of a letter is a good way to get them going. I helped her place the tape to make the letter “A” for Ava and then she decided how she wanted to divide up the rest of the space. Her finished taping is in the bottom right hand corner of the photo collage below.
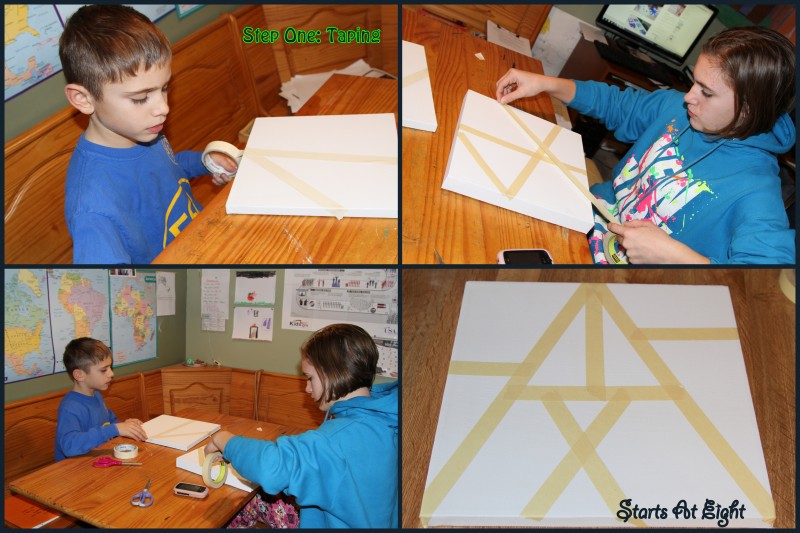
Step Two:
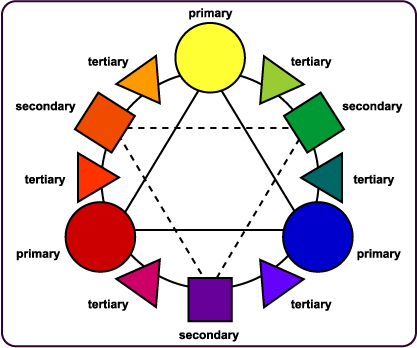
After the taping is done they can begin painting each of the spaces. Jayden chose to use only primary colors. This would make for a great opportunity to teach primary and secondary colors or even to review and reinforce this concept. Kidzone has a simple page explaining the color wheel and how primary and secondary colors interact with each other.
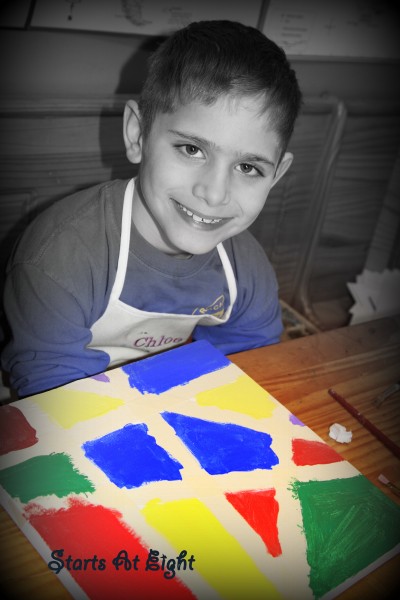
Jayden ended up getting carried away and used two secondary colors (green and purple) to add a little more variety in color to his canvas.
Chloe decided that she was going to custom mix all of her colors for her canvas. Thus she took a paper plate as her painters palate so that she could mix whatever colors she wanted.
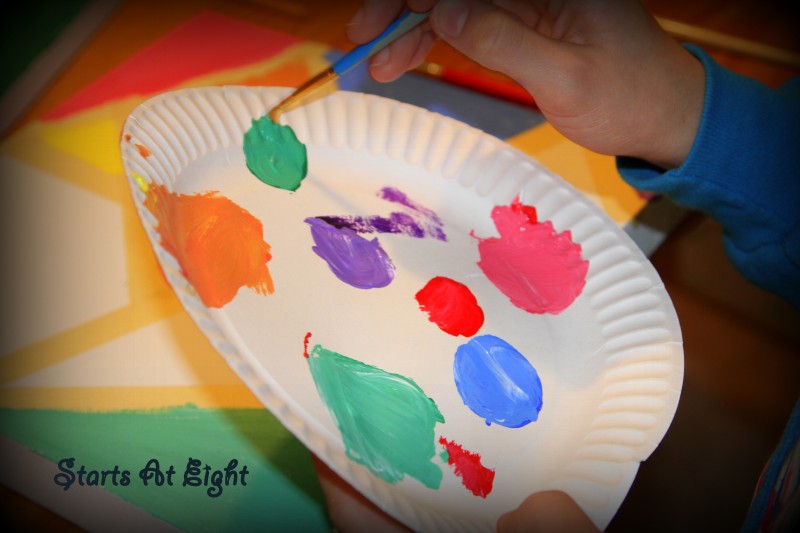
Ava’s unique feature was smooth brush strokes. She spent a large amount of time brushing out each space so it would minimize on the appearance of brush strokes, giving a flatter, smoother looking surface to her canvas.
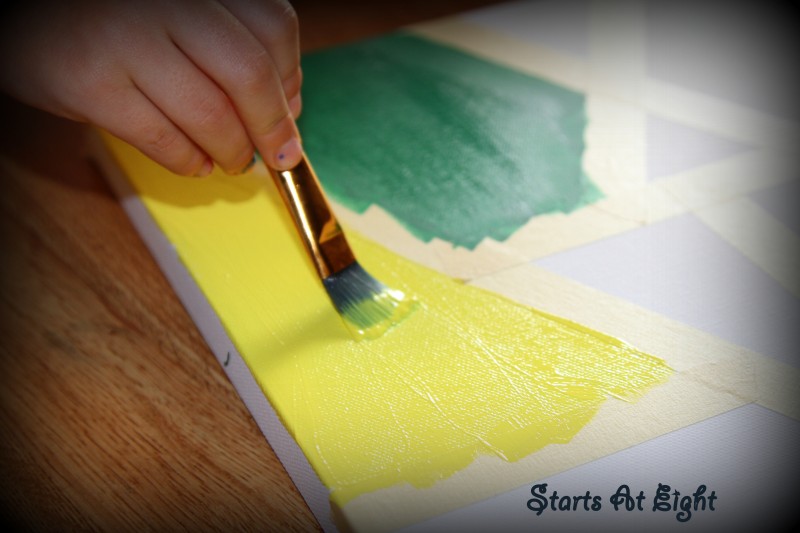
After they finished painting we let them dry and hung them on the wall in our living room for all to see and enjoy!


Free and Frugal Ways to Learn Art in Your Homeschool | Free Homeschool Deals ©
April 14, 2013 @ 11:37 pm
[…] Art with Canvas & Painter’s Tape […]