Art Project: Learning About Perspective ~ Part I
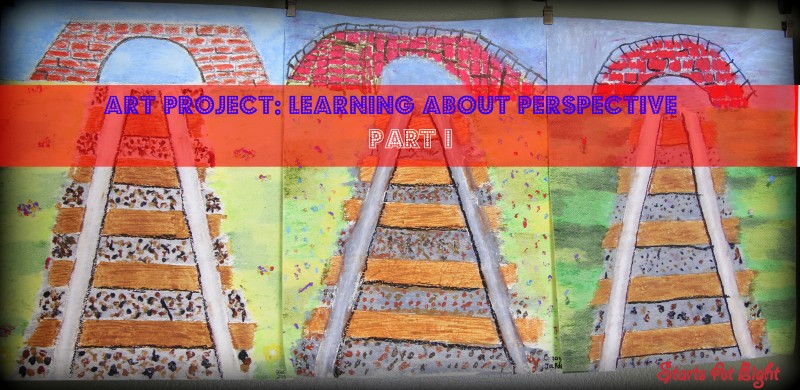
Our two most recent art projects ended up being theme related. Last year I found some art projects I really loved that used oil pastels. We immediately did one of them, but then the other got put on the back burner. I had been saving the other one, the Railroad Perspective project, not sure for what, but we finally sat down to complete it! That led to me finding a book at the library about perspective which led to another mini perspective art project. I will be talking about just the Railroad Perspective project in this post, and then another post will cover the book I found and the projects which became reality because of that book!
Supplies:
*blending stumps
*drafting tape (1/2″, and 1″)
*paper towels
*oil pastels
*11×14 pastel paper
Directions:
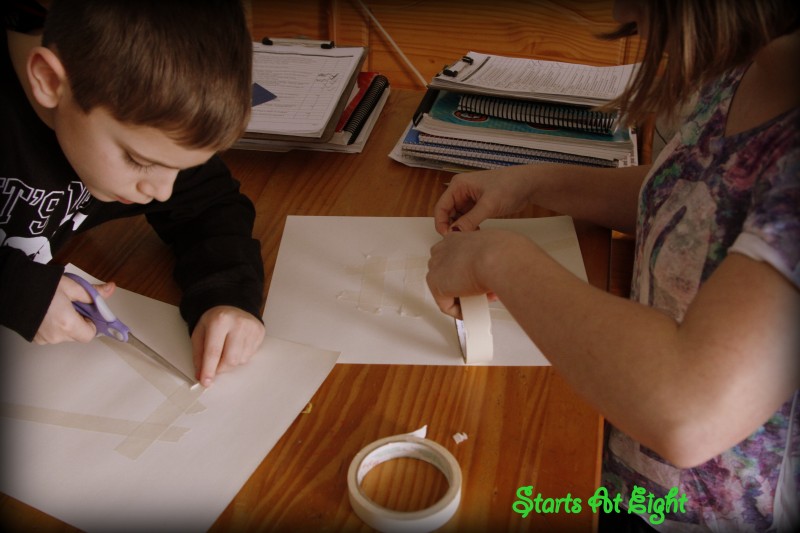
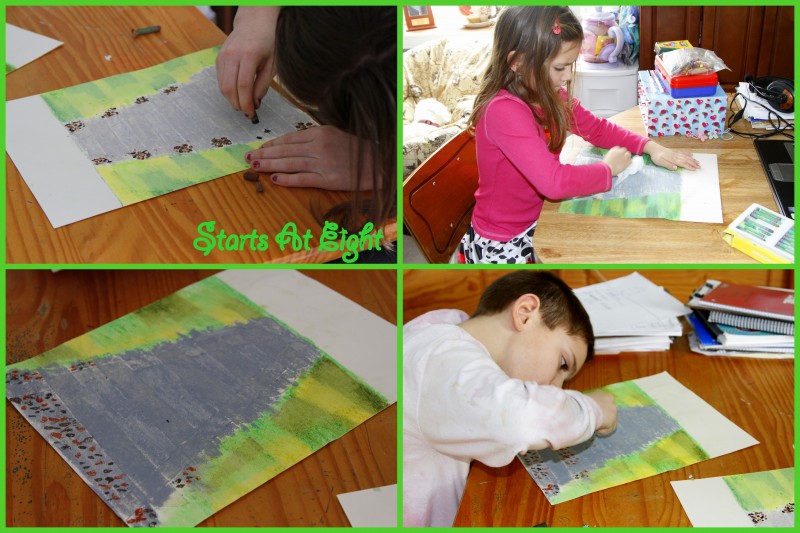
1. Using the drafting tape lay out the railroad tracks. Make an “A” shape with the 1/2″ wide tape, starting from the bottom and going about 3/4 of the way up. This forms the side rails. Then using the 1″ wide tape make the horizontal rail lines.
2. Select 2 green and 1 yellow oil pastels. Draw your horizon line and then using all 3 colors and horizontal strokes, color the space for your grass. The thicker the oil pastel the easier it will be to smudge.
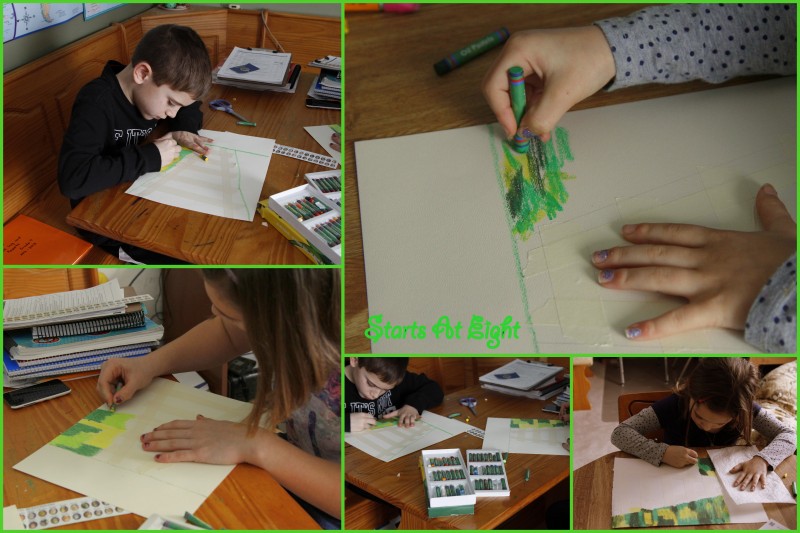
3. Using a paper towel smudge all the grass colors together using horizontal smudge strokes.
4. Using a grey oil pastel color over the spaces between the tracks, as well as coloring right over the tape as though it were not there. Smudge as you did for the grass.
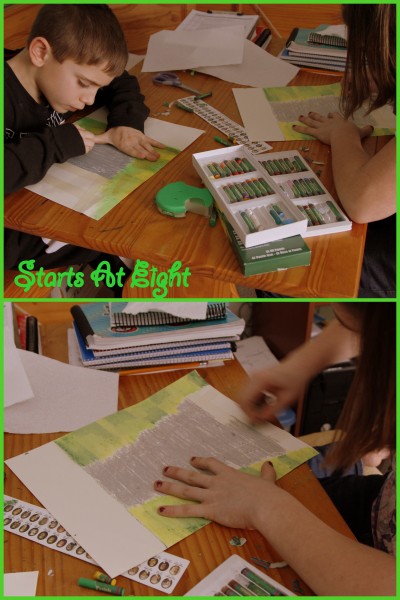
5. Next to do the rocks pick a selection of browns, and greys. Use a push and twist method, creating larger rocks at the bottom of the page, and increasingly smaller ones as you move your way up the paper. Keep doing rocks until all the areas between the railroad ties are well filled in.
6. Use a grey oil pastel to create a bridge of any shape at the top of your tracks, be sure to draw a tunnel. Draw all of your bricks before coloring them in as the grey lines will become the grouting between the bricks.
7. Color your bricks in using a brownish red oil pastel.
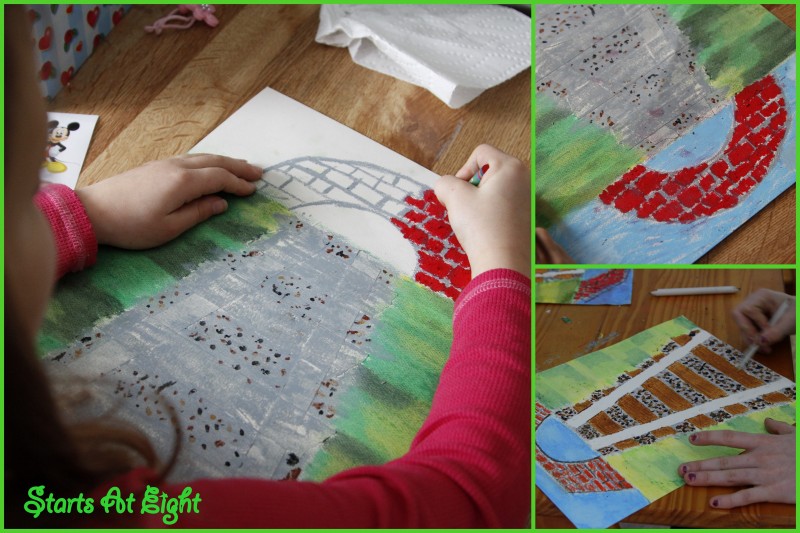
8. To create the sky you will need some blue, white and grey. Color in horizontal strokes filling in all the paper that is part of your sky, including your tunnel. Smudge together using a paper towel and horizontal smudge strokes to create a realistic looking sky.
9. To give the bridge some depth take a black oil pastel and draw thin lines to some of your bricks. At this time you may also choose to add a railing.
10. It is now time to remove the tape! Remove slowly as not to rip the paper below.
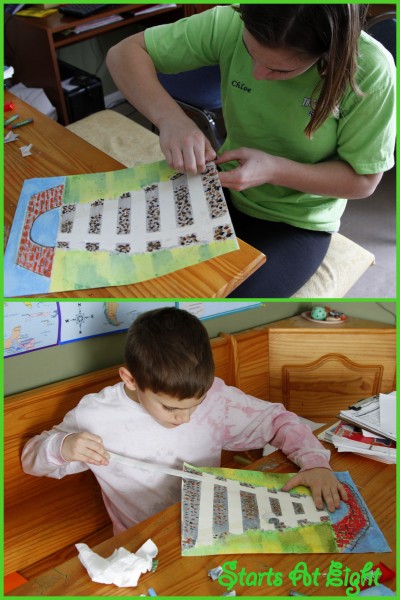
11. To add dimension to the tracks, select a dark brown pastel and draw separating lines between the horizontal ties and the vertical rails.
12. Color in the ties using first a light brown oil pastel, and then adding a darker shade on top.
13. Use a blending stump to carefully blend the browns together while staying within the boundaries of the ties.
14. To finish the rails, first color with white down the center, and grey on the sides. Then blend with a blending stump.
15. To a depth draw thin black lines on the inside of the rails and the bottom of each tie.
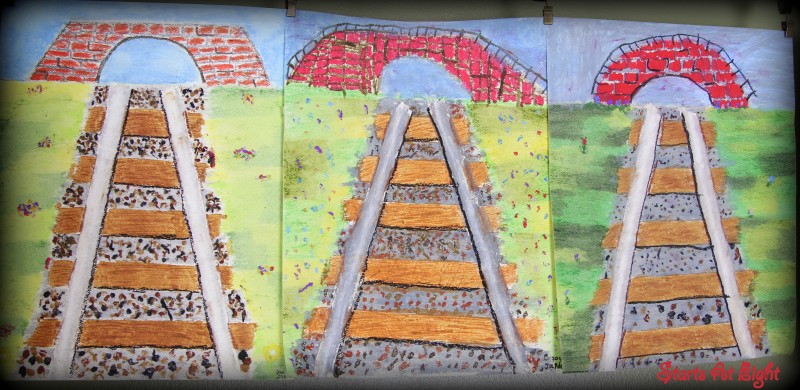
16. You may add any finishing touches you would like such as flowers, patches of grass, etc.


March 4, 2013 @ 2:25 pm
They did a great job on these.. From my perspective anyways. 😉
July 11, 2013 @ 4:55 pm
that looks like a great project to do with my 7th grader and 3rd grader keep up the good work I love your site
The Ultimate Guide to Hands-on Learning Activities for Middle School - Education Possible
April 12, 2014 @ 9:53 am
[…] Learning About Perspective Part I This is the first in a two part series about perspective. Using oil pastels we created an image of railroad tracks. The step by step process made it manageable for a wide range of ages, but challenging enough for the older student as well. […]
November 20, 2014 @ 7:14 am
Thanks for sharing such a wonderful lesson. I look forward to using it with my art students.
Art & Creativity Resources for Your Homeschool - Sweetness-n-Light
October 12, 2015 @ 5:48 am
[…] Art Project – Learning About Perspective Part I […]
Our Favorite Homeschool Art Resources - The Curriculum Choice
February 4, 2016 @ 3:33 am
[…] did a small unit on perspective that all my kids loved – Learning About Perspective Part I & Part […]