How to Eat Fried Worms Activities & Resources
As I have said before, my daughters and I have participated in mother/daughter book clubs for years. While my teenagers one has fizzled out, my 9 year olds is still going strong. We recently completed reading How to Eat Fried Worms by Thomas Rockwell.

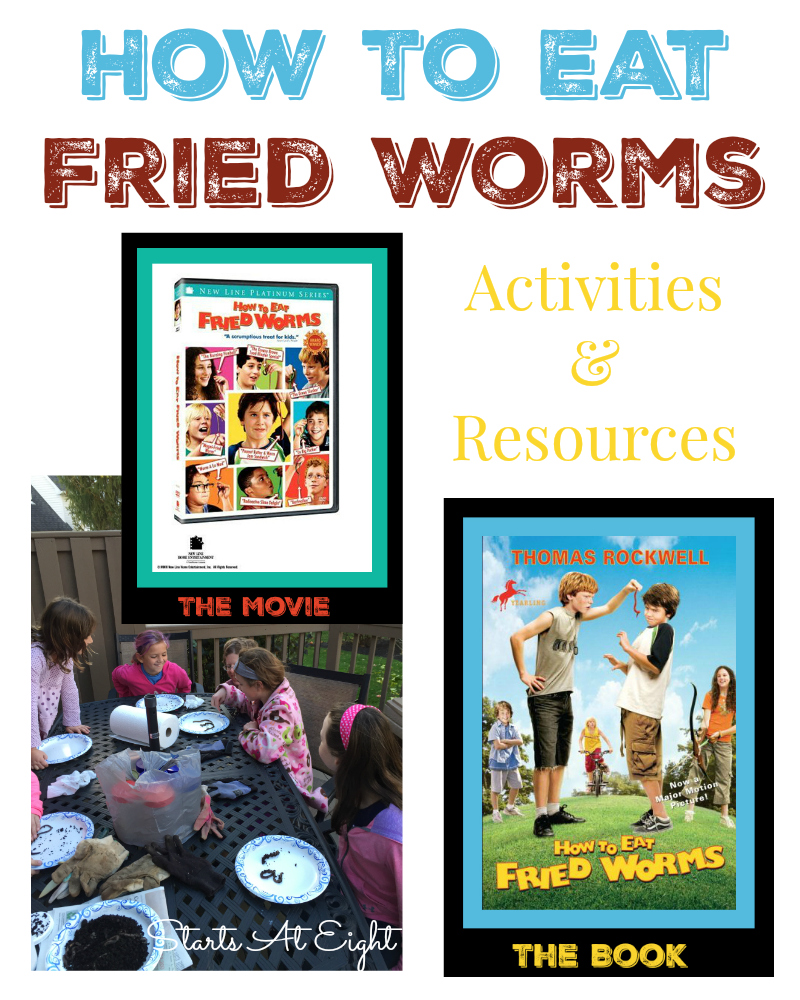
There is both a book, and a movie based on the book for How to Eat Fried Worms. We read the book first and had our book club and activity time before watching the movie. Reading the book and watching the movie too allows for great comparisons and discussion. You can use this FREE Compare and Contrast Movie vs. Book Printable to help you along with this. There is also an activity guide to go along with the movie that you can use – How to Eat Fried Worms Movie Activity Guide.
How to Eat Fried Worms Activities & Resources
Purchase The Book & The Movie
Printables
- Compare and Contrast Movie vs. Book – FREE printable
- How to Eat Fried Worms – Library Lessons – FREE printable activities
- A Guide for Using How to Eat Fried Worms in the Classroom – FREE quizzes, hands on activities, vocabulary, and more!
- How to Eat Fried Worms Book Unit – for grades 3-5 and includes quizzes, vocabulary, comprehension questions and English lessons
- A Guided Reading Unit – FREE for 2nd – 4th grades and includes vocabulary, summarizing, compare and contrast, dictionary skills and more!
- Interactive Vocabulary
- Online Quizzes – done by chapter groupings
Activities
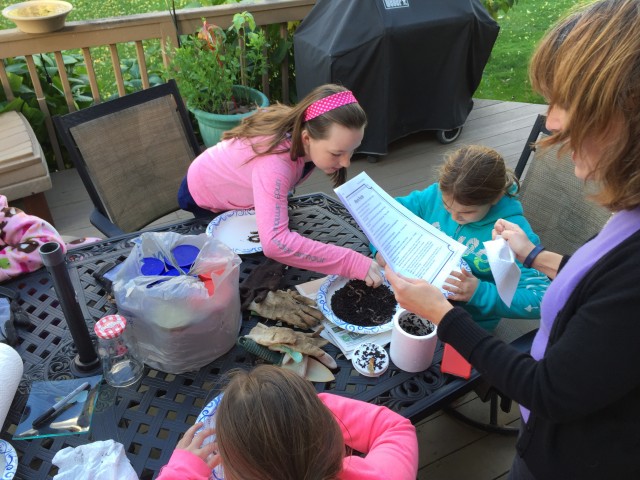
For our book club time we chose to do two different things. First was a mini science observation with the worms themselves. Second the girls made little glass habitats for their worms to take home and observe over a period of time.

Make A Worm Habitat
You Will Need:
- Large wide mouthed glass jar (pickle or mayonnaise jars work well)
- An empty soda can
- Sand, soil, compost (or rotten leaves), water
- Earth worms (from the garden, pet store, or fishing store)
- Black construction paper
How To Make A Worm Habitat:
- Put soda can in the jar then add 1/2 inch layer of sand on the bottom of the jar (around the soda can).
- Add 1/2 inch layer of soil.
- Continue to layer sand and soil until almost at top of the jar (soil should be the top layer).
- Place the worms on top of the soil. Put rotten leaves or compost over the worms. Add water as needed to keep soil moist.
- Wrap black construction paper around the glass jar to keep the light out. Secure with tape.
- Be sure to poke holes in the lid so the worms have air.
- Check the soil every other day or so to make sure it does not dry out completely. Moisten it a little as needed. But don’t soak it or the worms will drown!
- Keep the worms in a cool dark moist place.
What Happens In The Worm Habitat?
The worms will begin to burrow into the soil. The soda can will keep the worms toward the outside where you can see them. After several days, you will see they have made a series of tunnels. To see these tunnels remove the construction paper from the sides of the jar. Make sure to replace the construction paper after observing the worms. The worms will continue to tunnel in the
darkness.
The Science Behind The Worm Habitat
Worms feed by taking soil through their bodies which creates tunnels in the soil as they move. These tunnels aerate the soil, which provides plants with the oxygen they need to grow. The tunnels
also allow the rainwater to drain, thus helping to water the soil.


