Valentine’s Day Card Craft: Cupid’s Arrows
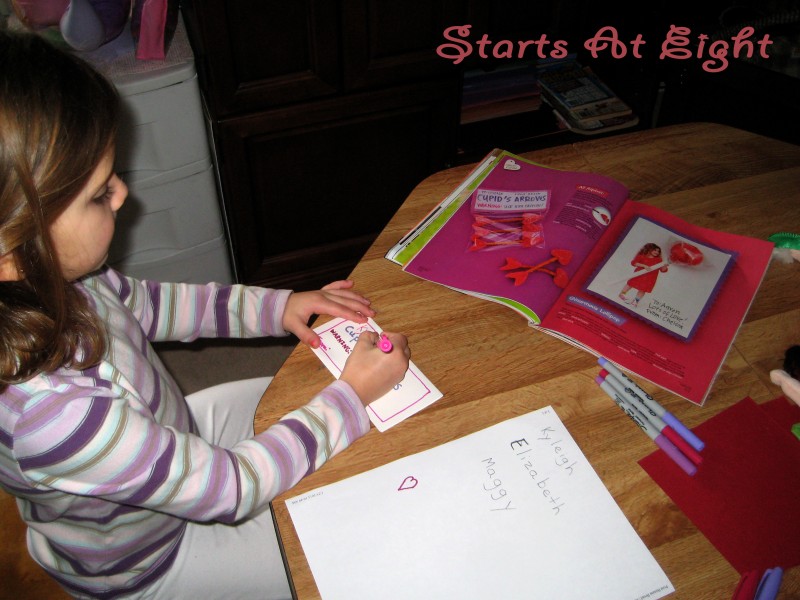
Ava found a Valentine in Family Fun Magazine that she wanted to make for her friends this year. I did not have all the things needed to complete the project so I modified the activity to fit our needs.
Supplies:
12×12 colored card stock (1 piece makes 4 red bases & 1 white piece makes 4 white tops)
toothpicks
gum drops (1 gum drop makes 1 arrow)
various stickers (optional)
markers/crayons
gallon size Ziplock bags (1 per Valentine)
scissors/tape/stapler
What to do:
1. Take one 12×12 piece of red card stock and cut it into 4 equal squares (for the base). Then do the same with one 12×12 white card stock (for the top).
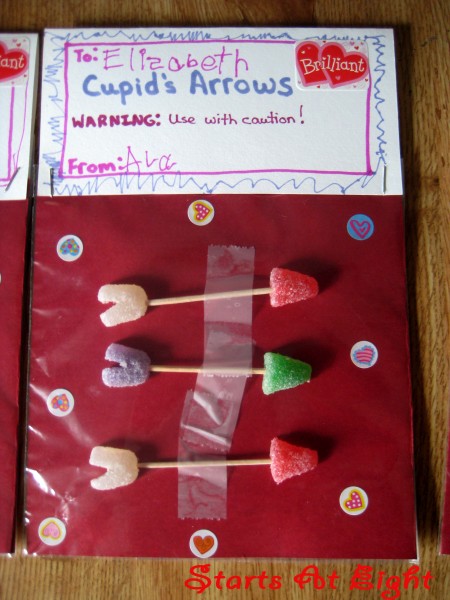
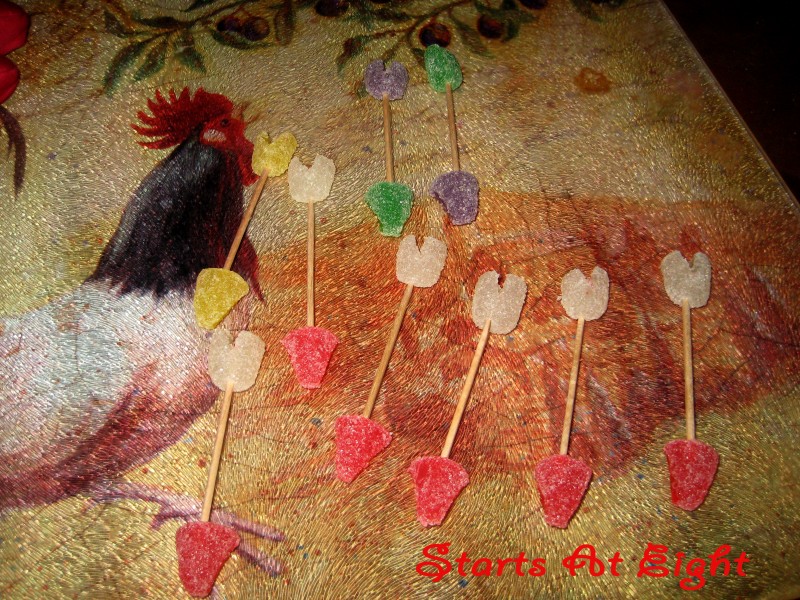
2. We used regular gum drops to make the arrows. Take a sharp knife and cut the gumdrops in half from the top down. For the front of the arrows just shave a little off each side to make it appear more pointed. For the backs of the arrows cut a “v” out of the halved gumdrops.
3. Let you child assemble the gumdrop arrows using toothpicks. They can make any color combinations they would like!
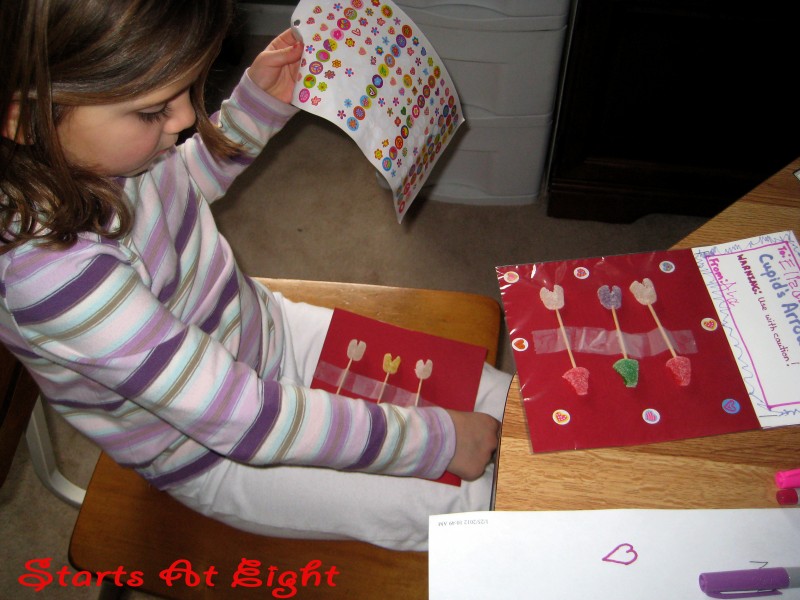
4. Once the arrows are assembled your child can help you tape them down to the red base (or any other color you may have chosen for your base). We attached 3 arrows per card, but you could certainly fit a few more if you fitted them closer together.
5. Here is where the optional stickers come in! (I just dug some out of our sticker bin and let Ava have it!) You could certainly buy specific stickers as well.
6. To make the white tops I folded each of the small squares in half, used a marker to create a border and write the words:
Cupid’s Arrows
WARNING: Use with caution!
Also write the word To: on top, and From: on the bottom for your child to fill in the names.
7. Let your child decorate the border with markers/crayons/colored pencils, you could even use small stickers or stamps.
8. Cut the top off each Ziplock bag, keep it just high enough to cover the whole piece of base card stock (red in my case). Place each Valentine in a bag (which will be too wide). Fold the excess bag around the back of the Valentine and tape it down.
9. Place the folded white card stock label over the top of the base in the bag and put a staple in each of the two adjoining corners to hold it all together.


February 7, 2012 @ 7:48 pm
I found the pictures fun. I think I will take this challenge up sometime. I would like to take a photography class sometimes.
February 7, 2012 @ 11:56 pm
Cute idea! I’m a new follower from the Tuesday hop. Feel free to follow back at http://www.dandygiveaway.com 🙂
February 8, 2012 @ 1:36 pm
What a cute, simple, fantastic idea! I will be doing this with my Grandkids this year. Thank you! I am always on the lookout for something simple that Grandma can do with her kiddles! Thank you for sharing on NOBH!