Using Famous Artists Online Unit Study for Homeschool Art
Adding art to our homeschool has always been something I struggle with. It isn’t that I don’t like art, or that I don’t see the importance of art. Truly, I just struggle with art myself – trust me, you don’t want to see me try and draw a person! Since I struggle so much myself, I need a TON of help when it comes to teaching art to my children.
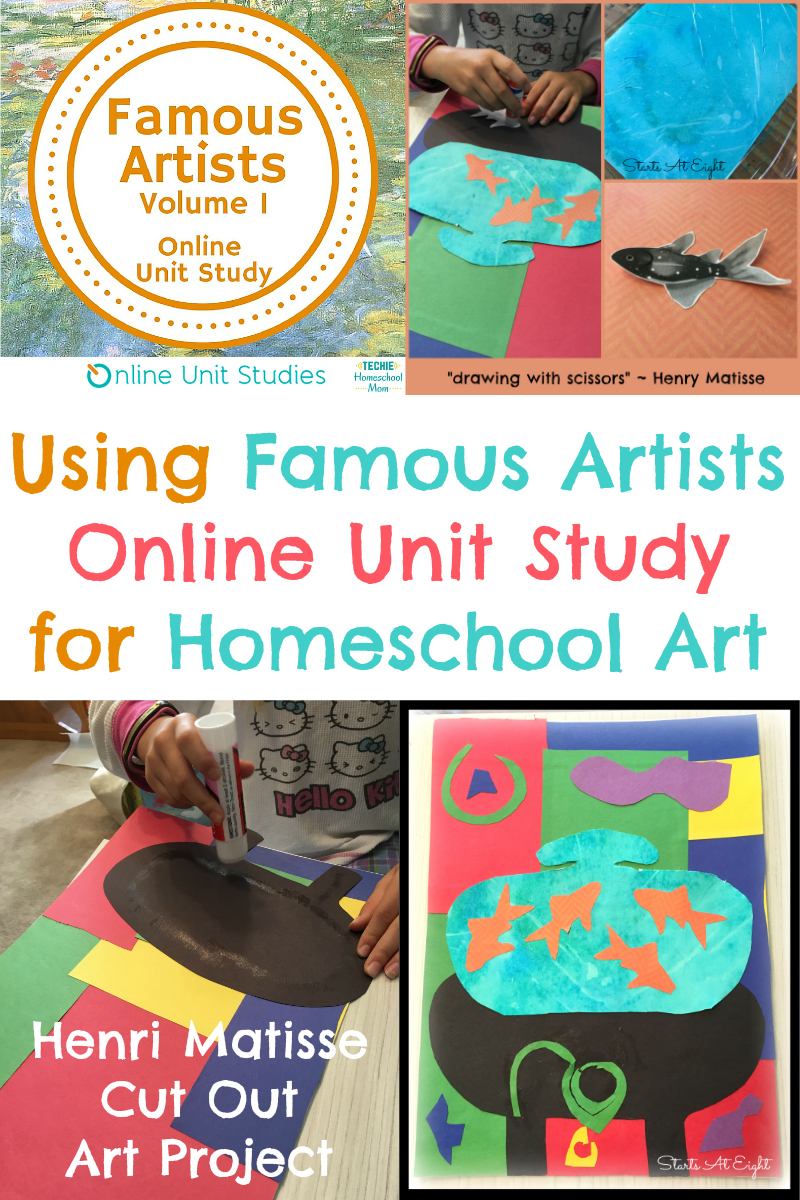
Collecting great art resources is something I have spent a ton of time doing throughout our years of homeschooling. I have found I very much appreciate an “Art for Dummies” style of tutorial. So anything with detailed steps, technique instruction, video demonstrations are even better! Here is a collection of various types of resources I have found to meet these criteria:
Famous Artists Online Unit Study
To add to the list above we are now doing some projects from this Famous Artists Online Unit Study – Volume One!
Famous Artists Online Unit Study is:
- easy to use
- affordably priced
- online so no excess paper required
- tracks your progress (checking off and graying out what you have completed, as well as an overall percentage progress bar)
- includes not only art, but ties in the artists with the history of their time period
- includes information about each artists style
- Volume 1 covers Renaissance to Surrealism
Henry Matisse & Fauvism
This is a sample of one of the lessons from this Famous Artists Online Unit Study – Volume One. It includes a video about fauvism, biography readings about Henry Matisse and his artwork, and a step by step tutorial for creating a Goldfish Still Life.
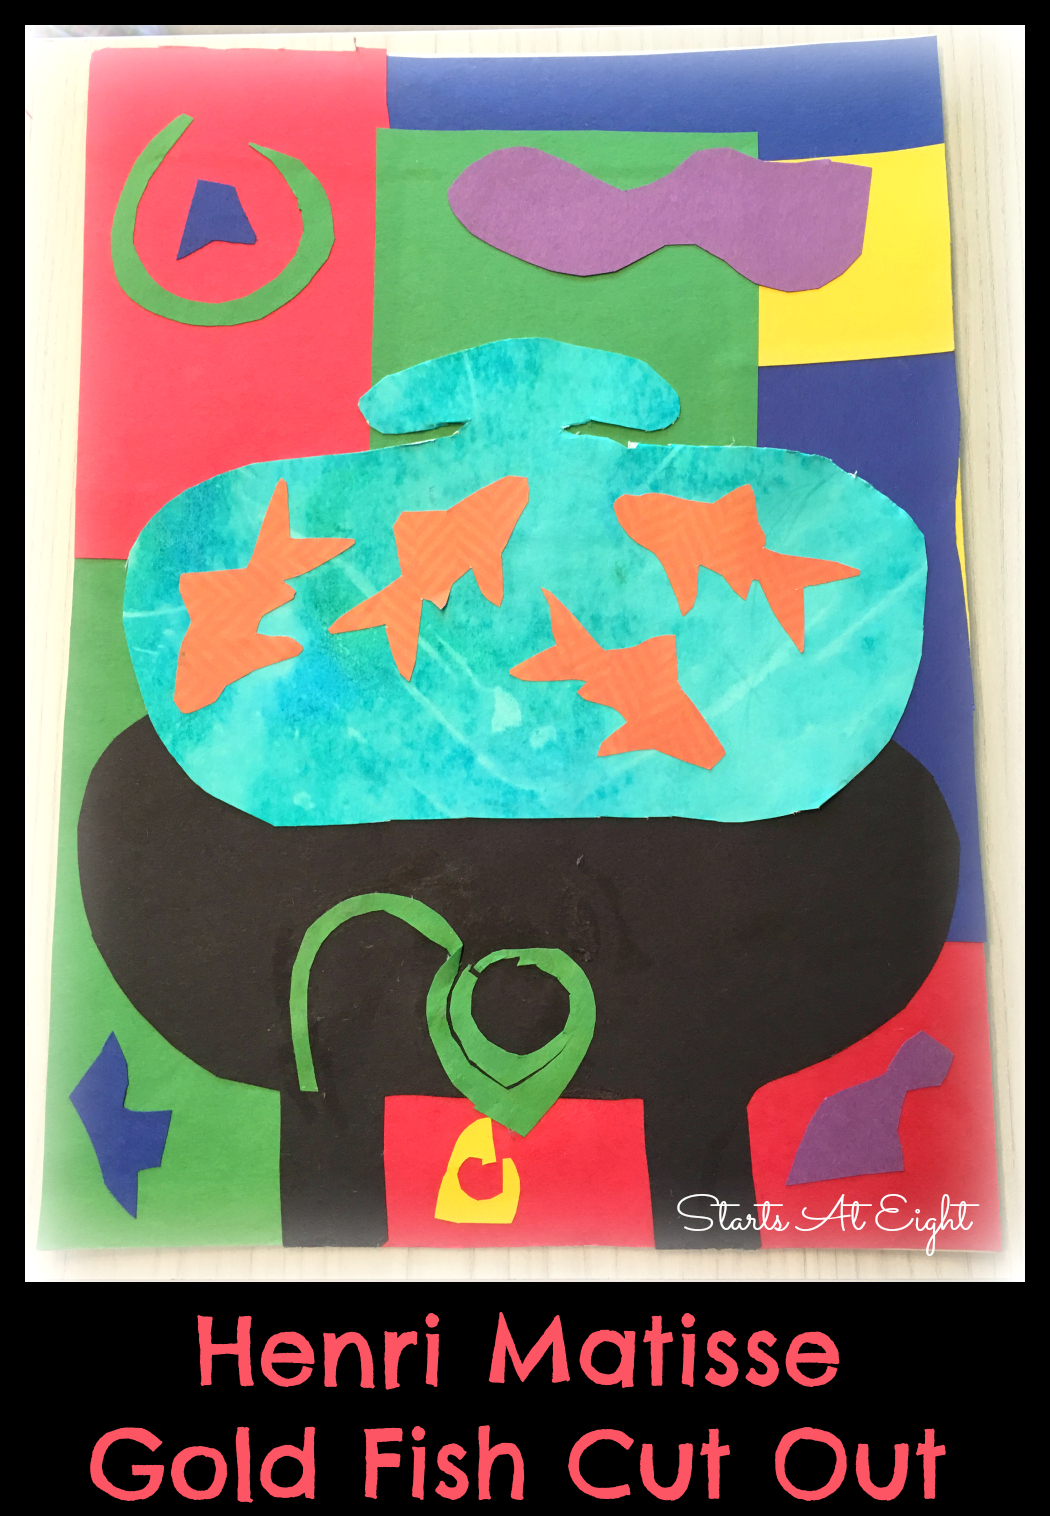
“Later in life, Matisse was unable to paint due to health issues. Instead, he started “painting with scissors” by creating collages of cut-outs.” Using this method we created our Goldfish Still Life.
Goldfish Still Life
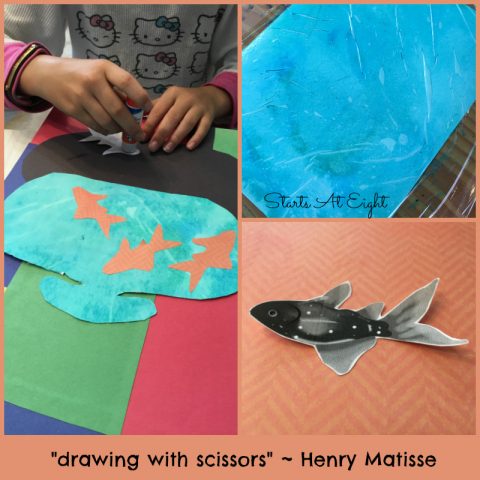
Your kids can make a striking collage made from a variety of images similar to those designed by Henri Matisse. In reference to his paper cutouts, Matisse stated, “I cut paper, but I’m drawing with the scissors.” Matisse also called the collage process “cutting into color”.
Supplies:
- watercolor paper 9 x 12
- some sort of thicker and larger art paper – we used watercolor in 11 x 15
- bold colored construction paper
- watercolors
- plastic wrap
- paint brush
- scissors
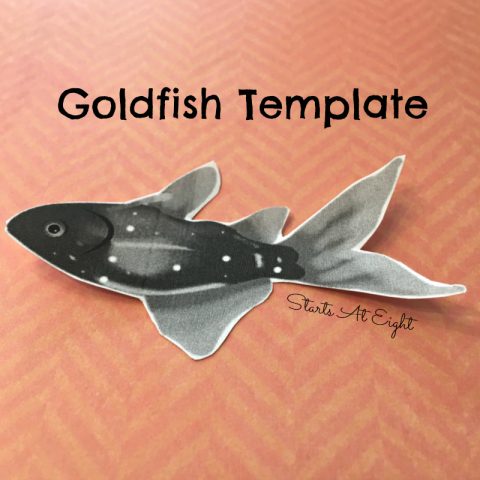
- gold fish template
- scrapbook paper (optional)
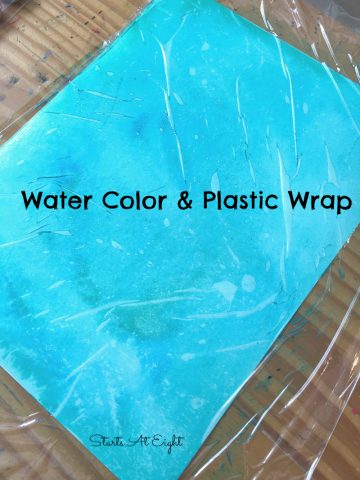
We started by creating a cool water effect using watercolors and plastic wrap.
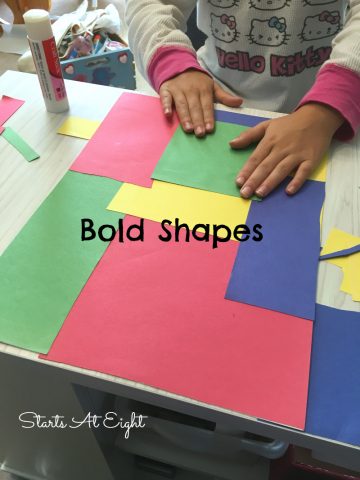
While that was drying we cut out large geometric shapes (larger is better, we learned that the hard way) to paste onto our background paper. We also cut lots of organic shapes form colorful paper, in the style of Matisse, “drawing with the scissors”, and saved these to add on at the end.
Using black construction paper we cut out the shape of the table to hold the goldfish bowl.
To make the shape of the bowl we used plain white printer paper folded in half, and drew a shape to cut out. We then traced the shape onto the back of our watercolor so we could cut it out in the fishbowl shape.
I created a fish template for my daughter to trace as I felt that would be easier for her. Using that we traced them onto a piece of scrapbook paper that she chose.
Using a glue stick we assembled the collage together layer by layer.


October 18, 2016 @ 5:48 pm
How fun! I’ve been doing more classical art with my kids this year, too.
October 18, 2016 @ 6:47 pm
I made it a goal to add more art, especially for my 5th grader who LOVES it! We started an art club that is meeting at our house twice a month, that way I have designated time for it that I can’t get out of! LOL!
August 24, 2017 @ 12:09 pm
I got some ideas on learning about Matisse here: amazingwizkids .com /four-reasons-why-your-kids-should-be-viewing-the-classics-right-now