Life Skills as High School Electives: Basic Wood Working Projects
Back when I was in middle school I remember taking what was called “Technology” or “Shop Class”. In that class we worked with our hands on basic wood working projects. I seem to recall an owl shaped bank, and a simple notepaper/pencil holder. While technology may have changed over the years, the need for kids to learn to work with their hands has not!

Welcome to my series Life Skills as High School Electives: Home Economics and Shop Class. In this installment we are talking about basic wood working projects and the skills required to accomplish them. You may find they already know how to do some of these tasks, so feel free to check those right off! Others you may not have covered yet, or even thought of! Be sure to grab my Life Skills as High School Electives: Basic Wood Working Projects printable list at the end of this post!
Basic Wood Working Projects
When it comes to basic wood working projects there is a fine art to such things as measuring, sanding, staining, cutting, and assembling. These hands on tasks are all great skills to have and can not only bring the joy of working with your hands and a great sense of accomplishment, but can save your kids money all through adulthood.
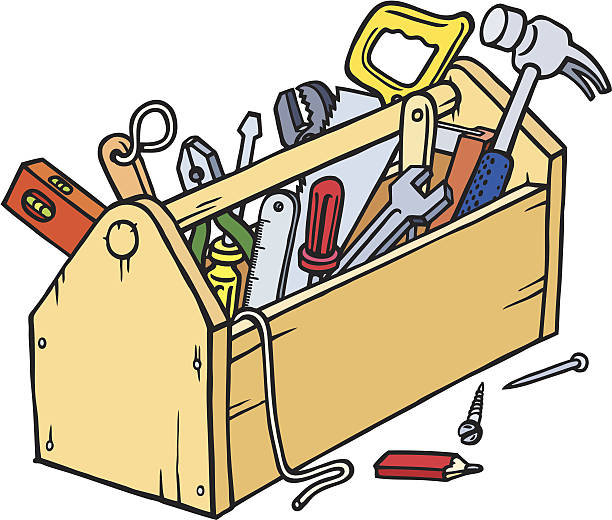
Create A Woodworking Tool Kit

You don’t have to complete your child’s woodworking tool kit all at once. You can spend even just $100 to get them started with some basics, and then build from there as the budget and need pop ups.
These types of items can make great gift items for our teens, especially if it is something they have shown an interest in or affinity for. Beginning with a the skills of basic wood working projects can build a foundation for so much more with your teen!
Hand Tools:
- Crosscut Saw
- Rip Saw
- Carpenter Square
- Rulers
- Measuring Tape
- Level
- Assorted Screwdrivers
- Nails & Screws
- Clamps
- Files & Rasps
- Assorted Sandpaper
- Hammer
- Chisels
- Carpenter pencil
Power Tools:
- Drill
- Router
- Orbital Sander
- Circular Saw
- Compound Miter Saw
- Table saw
- Jigsaw
Visit a Lumber Yard
Take a field trip to a local lumber yard. This is a great way to take a look at the selection and variety of items, ask questions of the experts there, and find out how things are done there.
Things to do at the Lumber Yard:
- Check Out the Tools – Take your list with you. Have your child find and identify each thing on the list. Consider making a chart with prices so they can compare them to other places to find the best deal when creating their woodworking tool kit. They can also choose to add tools in which they think would be useful.
- Hard vs. Soft – Did you know there are varying degrees of firmness when it comes to wood? Find out which woods are the harder ones, and which ones are softer, and why this would matter.
- How to Pick a Piece of Lumber – Ask an employee to go through the process of how to pick a piece of lumber? They can tell you exactly what you should be looking for.
- Learn About Preservatives – With lumber you can choose pressure treated on non-pressure treated wood. There are also options that will help preserve wood when exposed to certain conditions. ( As a general rule, untreated wood shouldn’t be exposed to any moisture.) Find out about the differences in the two types of woods and what each would be used for as well as the varying preservatives and their advantages/disadvantages.
How to Measure Wood
Hardwoods
Hardwoods such as maple, mahogany, cherry oak, and teak are measured and sold by the board food – 1 foot long, 1 foot wide, and 1 inch thick.
Here’s how to measure in board feet:
Board feet is calculated by multiplying a board’s width in inches by its length in feet by its thickness in inches and the dividing by 12. This means that a thicker board has more board feet than a thinner one of equal surface area. Board feet is a measure of volume, not area. Example: a 16″ wide by 8′ long by 2″ thick board = 16 x 8 x 2 /12 = 21.3 board feet
- The first thing you need to do is list the rough cut sizes of the boards you need. Begin with the thickness you want, adding 1/8 or a 1/4 for surface planing.
- Then do the same thing with the width.
- Finally add an inch to the length of each finished board to determine the rough cut length.
Unsure? You can order your hardwood directly from the lumber yard S4S (“surfaced both sides”) which means you wouldn’t have to add a cushion, you would just ask for what you need.
Softwoods
Softwoods like pine, cedar, and fir are sold in standardized board sizes, not by surface area and board feet. You will see sizes like 2″ x 4″, which isn’t actually 2″ x 4″, instead it measures 1.5″ x 3.5 inches. This is true for any of these standard softwood boards. All the 1″ dimensions are actually 3/4″; all the dimensions from 2 to 6 inches lose exactly half an inch and dimensions over 6″ lose 3/4 of an inch. You can get anything from a 1 x 1 to 2 x 24, an 8 x 8, and basically any combination of widths from 1-8, and lengths from 6-24 feet.
How to Sand Wood
Sanding wood is a bit of an art. Sanding may seem like a simple task, but getting it just right can take some practice and finesse. When sanding wood you need to sand in the direction of the wood grain, applying light, even pressure. When the sandpaper gets clogged with particles or loses its grit, use a new piece of sandpaper. As you step down the coarseness of your sandpaper, wipe away any accumulated sawdust from the board. Before the final sanding, wet the wood and the let it dry to help raise the edges of the grain pattern. Then use a fine sandpaper and extra light pressure to finish sanding the piece.
Sanding Block
I highly recommend purchasing a nice sanding block (Here are two great options: Warner Sanding Block and Rubber Sanding Block) as having a nice handle/gripping surface makes it easier to sand, especially when doing larger sanding projects as it can really help prevent hand fatigue (or at least really slow it down).
Understanding Grit
Distinguishing sandpaper grit sizes is important because not every project requires the same. Sandpaper comes in a variety of grits such as 80-grit, 100-grit, or 200-grit. Keep in mind that he higher the number, the smaller the grains and the finer the sandpaper grit. Conversely, lower number indicate larger grains and overall coarser sandpaper.
To make choosing sandpaper easier, manufacturers identify a coarseness level in words on the package in addition to the specific grade. This is essentially a range of grit sizes that are similarly effective for the same sanding work. In fact, it’s not uncommon for projects to call for a certain coarseness level as opposed to a specific grit of sandpaper, so it’s smart to know what each level includes.
• Extra coarse sandpaper in the 24- to 36-grit range is tough stuff. It’s used for removing paint and varnish that you think might never come off. The sanding of old floors may also require the abrasiveness of extra coarse sandpaper. Don’t even think about using this stuff on any but the toughest jobs.
• Coarse sandpaper‘s strong suit is the rough shaping of wood and the removal of previous finishes, such as light coats of polyurethane. Coarse grits are typically in the 40- to 50-grit range.
• Medium sandpaper, ranging from 60- to 100-grit, accommodates some final shaping. Primary sanding of rough wood and the removal of planning marks on wood is often best done with medium-grit sandpaper.
• Fine sandpapers range from 120- to 220-grit. For most home workshops, this sandpaper will suffice for final sanding before the work is finished.
• Extra fine sandpaper is often used between coats of paint or varnish. Grits of 240, 320 and 400 are termed very fine, while extra- or superfine sheets with grits of up to 600 are best-suited for polishing jobs.
Note: On many projects, you’ll start with a coarse sandpaper grit, and then switch to finer grits to obtain a smooth finish.
How to Stain Wood
Stain is not like paint in that it allows the look of the wood to remain visible and prominent. Stains generally include a pigment or dye suspended in water or mineral oil as a solvent. You apply stain wet (like paint), the solvent dries away, and you are left with a consistent coat of color.
Staining Process
- Pick a Color – The color you apply isn’t always the color you end up with! Stains typically change hue as they dry, and are influence by the wood you are staining. Try out your color on a scrap or unseen corner of the wood you are staining.
- Prepare the Surface – Stain must be applied to bare, sanded wood.
- Apply the Stain – There are many ways to apply stain. To ensure full saturation of the large pore of “open-grain” woods such as oak, ash, and mahogany, use and old sock wrapped around your gloved hand to work the stain into the wood, scrubbing across the grain in a swirling patter. With closed-grain woods like cherry, aspen, and birch, use a brush to apply stain in long, gentle strokes.
- Wipe the Stain – The longer you leave a stain to dry before wiping, the darker the finished color will be. You DO NOT want to leave pools or droplets of stain on the surface as they will create an uneven finish. Wood tends to have uneven absorption so once your piece has dried, you should wipe it free of excess stain with a dry rag. Be sure to wipe in straight lines with the grain of the wood.
How to Build a Birdhouse
Also here is a list of FREE Birdhouse Plans if your student would like to choose something else to try.
How to Build a Bookshelf
This is a tutorial for a simple bookshelf that can easily be adapted to the size you would like to make.
How to Build a Table

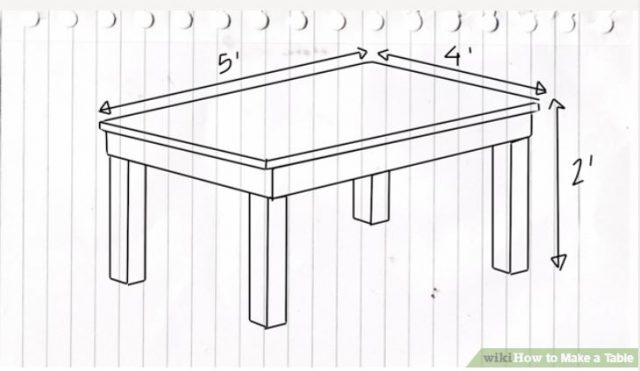
While there are many ways to build a table, when beginning to work with wood you want to keep it simple. Using the tools your teen has collected, and some very basic supplies such as pine board, wood glue, and nails your student can easily construct a simple table. Here is a tutorial my son is using to build a table for himself to use for when he is gaming on the tv: wikiHow: How to Make a Table. He likes how the 3-D graphics are used as opposed to taking the time to watch through a “how to” video.
Printable List of Basic Wood Working Projects
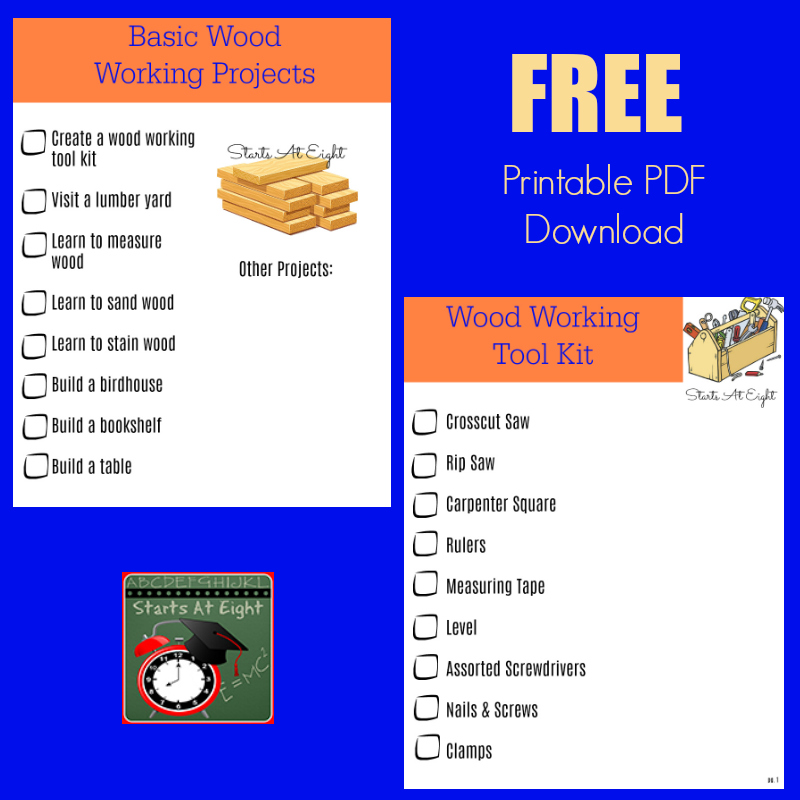
I have created a printable list of these Basic Wood Working Projects. You can print it and use it as a guide to check off as you teach your teen these skills. I have also included a separate tool list you can take to the store with you that includes space for your child to write notes about each tool as well as room to add more tools!

Another great way to enhance your record keeping is to take photos, print out any directions or tutorials you found useful and create a portfolio with the Printable Checklists and other items. I like using a 3 ring binder and creating tabs for each section of this Life Skills series. It will make a great reference for them later!
FREE Printable List
Click FREE Basic Wood Working Projects and Tools Checklist Printable Packet to download the entire packet in pdf format!
Life Skills as High School Electives: Home Economics & Shop Class Series
Be sure to book mark this page as this is the landing page for all of them!
Welcome to my series Life Skills as High School Electives: Home Economics and Shop Class. Over the coming weeks I will be talking about essential life skills and how to incorporate them into your high school transcript as high school electives. {Each topic will be linked here as they are completed.}
1. Home Economics
- Essentials for Stocking a Kitchen & Pantry
- Cooking Basics for Teens
- Sewing Basics for Teens
- Laundry and Clothing Tips
- house cleaning
2. Shop Class
- Essential Household Repair Tool Kit
- Basic Household Repairs for Teens
- Basic Wood Working Projects {This Post}
- plumbing and electrical
- mechanical


February 16, 2018 @ 11:31 am
Hey Heidi, I love this post, I feel it’s incredibly important to get your children involved in woodworking skills and basic DIY skills at a young age, it gives them a knowledge and understanding of how things are put together, it helps in later life when they have their own home and it’s a brilliant opportunity to spend some quality bonding time with your children.
This post is an excellent starting point for anyone looking to get their child started with an amazing practical skill