Homeschool Art Using The AtmosFlare 3D Pen
I am art challenged. I am a concrete thinker and absolute kind of mind. My daughter on the other hand is more of a free spirit. While I wouldn’t say she is uber artistic, I would say that she LOVES art! Anytime we can get into an art project of some kind is a good day for her.

Needless to say when I came across the AtmosFlare 3D Pen I was ecstatic for her. A new medium to explore and create art with is a great addition to our homeschool art portfolio.
{Disclosure: I received this product for free and was compensated for my time in writing this review. All my opinions are my own, honest thoughts and I was not required to post a positive review. Your experience may vary. Please see my full Disclosure Policy for more details.}

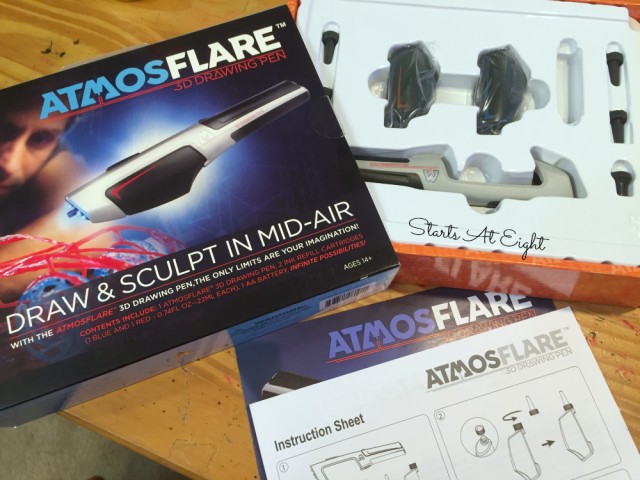
What’s In Our 3D Pen Box:
- 3 ink writing tips
- 1 cleaning tip
- 1 3D gel pen
- 2 gel cartridges (red & blue)
- 1 AA battery
Creating With the AtmosFlare 3D Pen
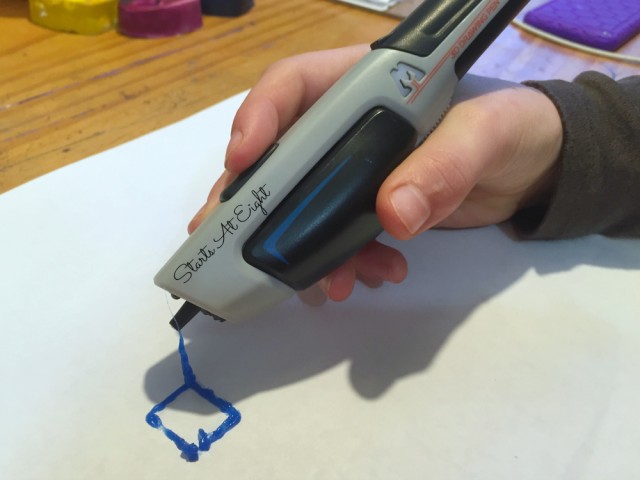
We started by creating a cube. From doing this my daughter realized she had an easier time when she started with a flat, solid base and worked from there.

*Please note: This product says it is intended for ages 14+. I allowed my 9 year old to use it with supervision. Please use your discretion and at your own risk .*
We created a menagerie of cubes, flowers, and trees and learned (because she decided to toss and play with them) that we could “glue” broken pieces back together by simply using the 3D Pen to mend the break.
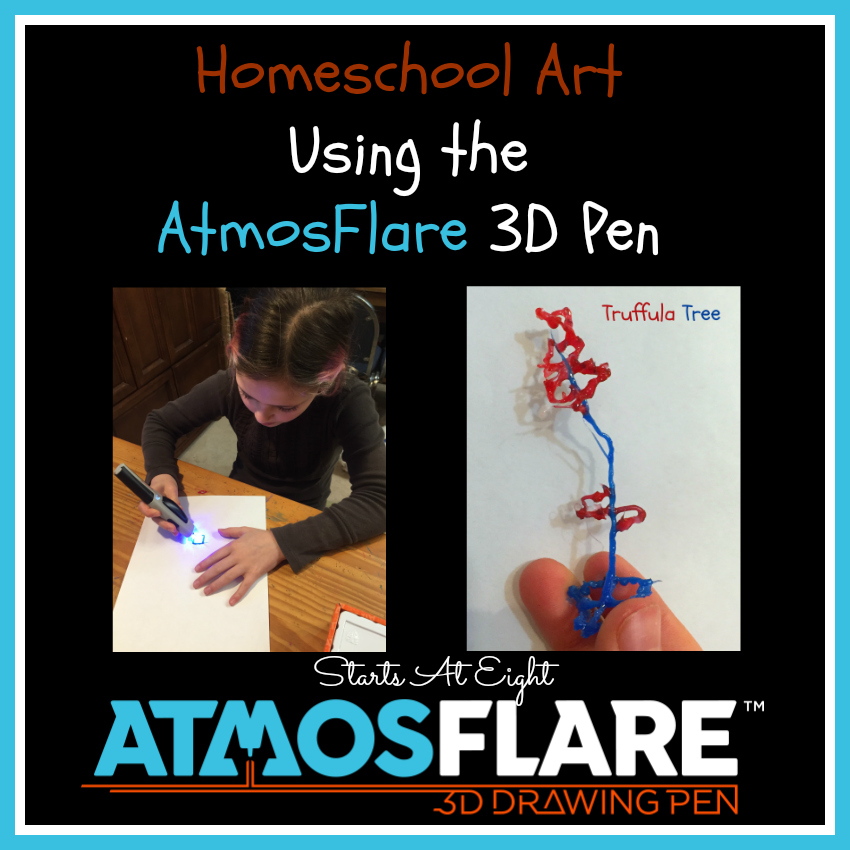
She took this time lapse video of her creating a truffula tree from The Lorax in honor of Dr. Seuss’s birthday.
Tips for Using the AtmosFlare 3D Pen
- When starting out with the AtmosFlare 3D Pen, start out simple. Try creating a basic cube to get used to how the pen works. This technique helps you learn to create a base and start building and connecting with a steady hand.
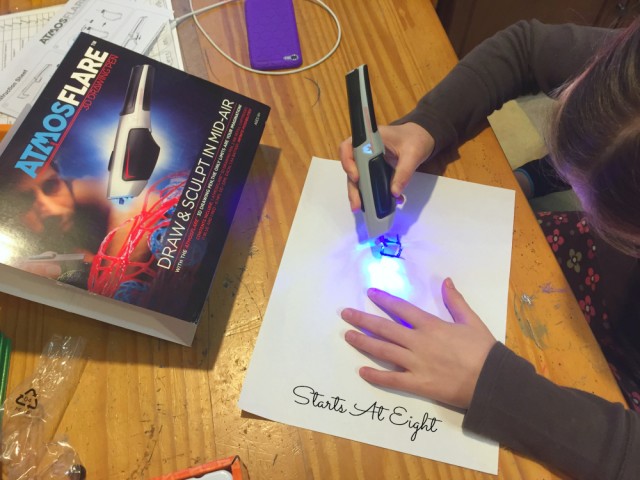
- We started by creating on a white piece of paper. That was a mistake! Because of the reflective properties of the white paper the ink cured too quickly and caused the tip of the pen to clog. Try using dark paper, cardboard (like a cereal box), or waxed paper.
- Buy plenty of extra ink from the AtmosFlare site. Our kit came with one blue and one red cartridge. With the learning curve that goes into using a new device and the fact that my child loved it and wanting to keep creating, having cartridges ahead of time would have been a big help! (Plus having plenty of colors to create with is way cool too!)
- Check out these videos to help you get started and for more tips and tricks.
- Creating a solid base was important. We found that having a solid base and having a balanced project could make or break things. (We had a flower that kept tipping over until we created a longer support on one side and a heavier one on the other to balance it out.)


