Duct Tape Christmas Crafts
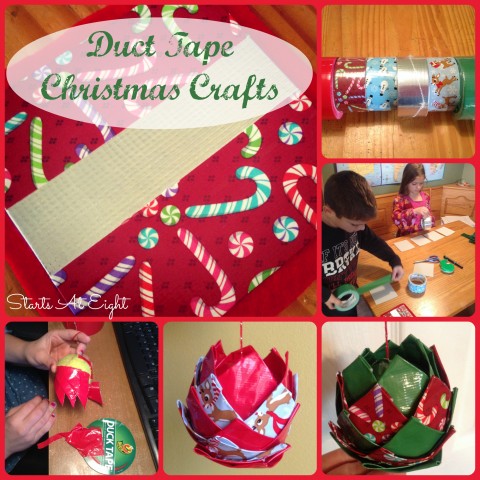
While shopping for another craft project our kids got excited about the Christmas patterned duct tape they saw. We decided to purchase some in both Christmas patterns and colors to try our hand at some duct tape Christmas crafts.

I found three different crafts for us to try using the duct tape. It also happened to work out that we compiled three different levels of difficulty in the crafts. One super easy duct tape Christmas craft, one of medium difficulty, and one harder one that I knew only teenager would try to tackle.
Super Easy Duct Tape Christmas Craft
I found these Duct Tape Christmas Ornaments from Crafty Soccer Mom that are super easy for younger kids to do.
We have yet to try them as we have been focusing on the Duct Tape Christmas Craft I will talk about below because we will be using them as gifts for the grandparents this year. If we get to doing these super easy, but totally wonderful duct tape ornaments I will come back and add pictures.
Great Gift – Duct Tape Christmas Craft
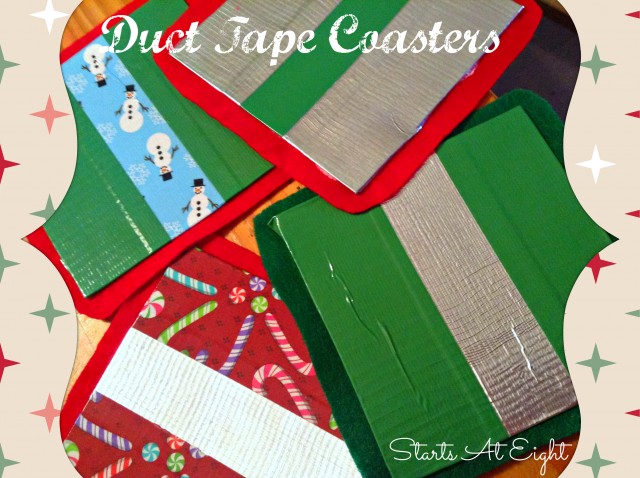
These Duct Tape Coasters make great gifts for the holidays. Our children sat down to make them to give to their grandparents, and they loved them so much they even made a few for themselves.
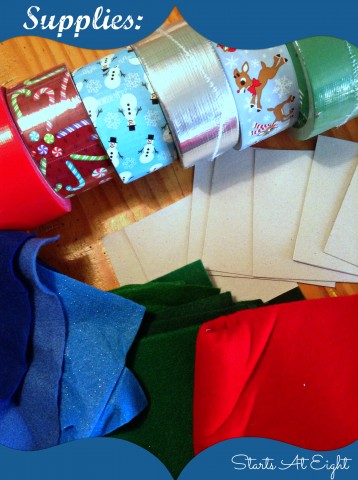
Supplies:

- Cardboard (we up-cycled cereal boxes and such from our recycling bin)
- Duct tape (we had both Christmas prints and solid colors)
- Felt – choose colors to match the duct tape you are using
- Craft glue
- Scissors
- Ruler
- Pencil & Marker – to mark your measurements on the cardboard and felt
- Beads – [Optional – string beads or single] (we chose not to use these)
- Pinking shears – [Optional if you want to create a fancy edge]
Crafting the Duct Tape Coasters:

- Cut 3 1/2 or 4 1/2 inch squares from the cardboard. (We made bigger ones as gifts and smaller ones for themselves)
- Cover one side of each cardboard square with 3 strips of duct tape. Trim the excess duct tape for about 1/2 overlapping around each square.
- Trim the corners at an angle and fold each edge to the back.
- Cut pieces of felt to 4″ x 4″ or 5″x 5″ depending on the size cardboard squares you cut. Add craft glue to the back of each duct tape covered square and attach to the felt square. Be sure to center the duct tape covered squares on the felt.
- At this point you can glue string beads or individual beads around the edge of the duct tape covered square.
- Finally if you want a fancy edge and have pinking shears you can cut around the edges of the felt. We chose to round off the corners of our felt.
Cool Holiday Duct Tape Ornament
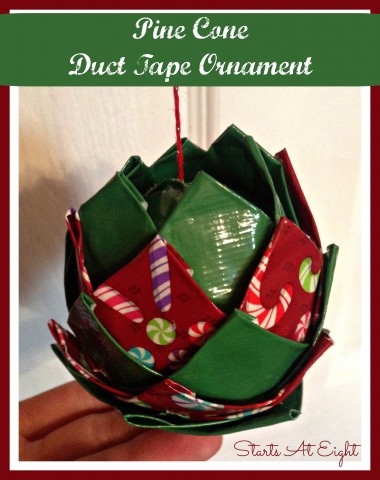
This ornament Pine Cone Duct Tape Ornament is more difficult than the other crafts. I found this one with my teenager in mind as I knew she could handle it and would appreciate something a little bit more detailed than my younger two.
Duct Tape Pine Cone Ornament Supplies:
- Any color yarn
- Scissors
- Duct Tape (we used a combination of solid colors and Christmas patterns)
- Ball (tennis ball, Styrofoam craft ball)
Crafting the Duct Tape Ornament:

This Duct Tape Ornament post details the step by step direction with photos to create this ornament that I call the Pine Cone Duct Tape Ornament.


