Popsicle Stick DIY Christmas Ornaments for Kids
Welcome to Day One of my 5 Days of DIY Christmas Ornaments for Kids! Today is all about Popsicle Stick DIY Christmas Ornaments.
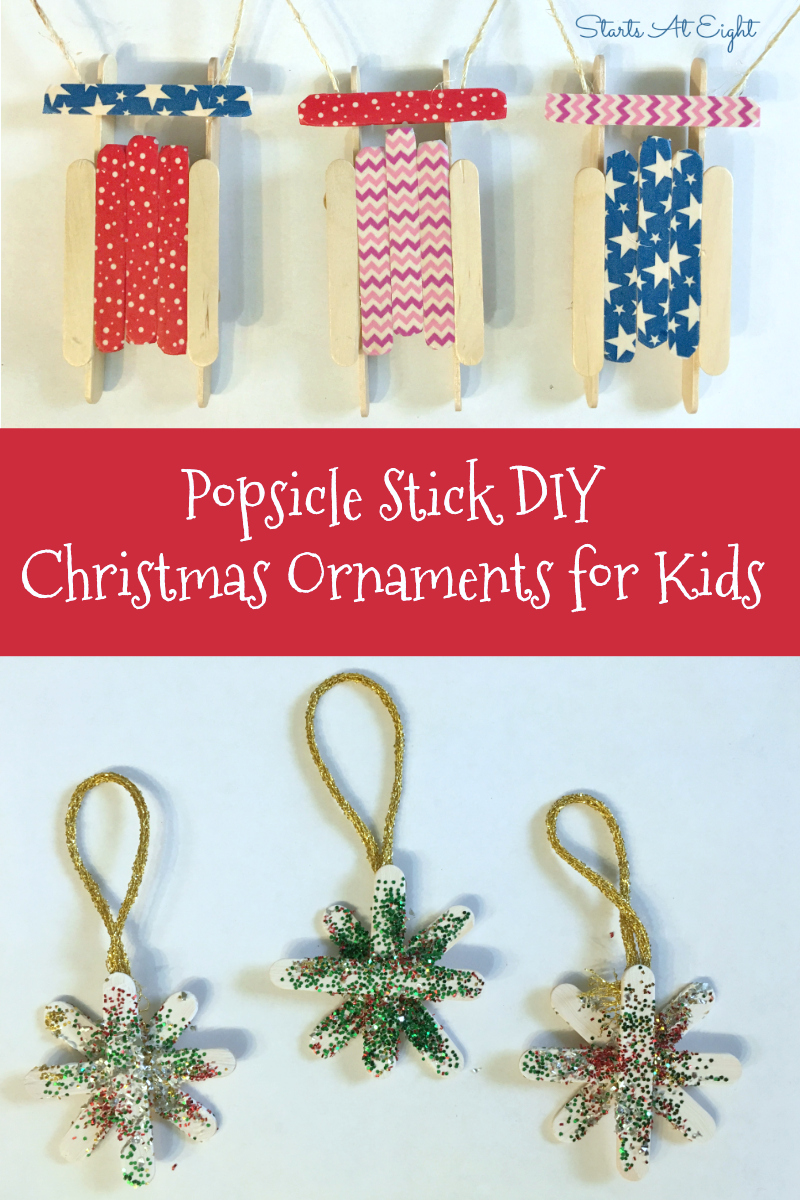
While we created two different ornaments ourselves, I also have a few more fun ones that I found around the web that you might enjoy trying as well! Once you have the Popsicle sticks the possibilities are endless!
Popsicle Stick DIY Christmas Ornaments
Washi Tape Sleds
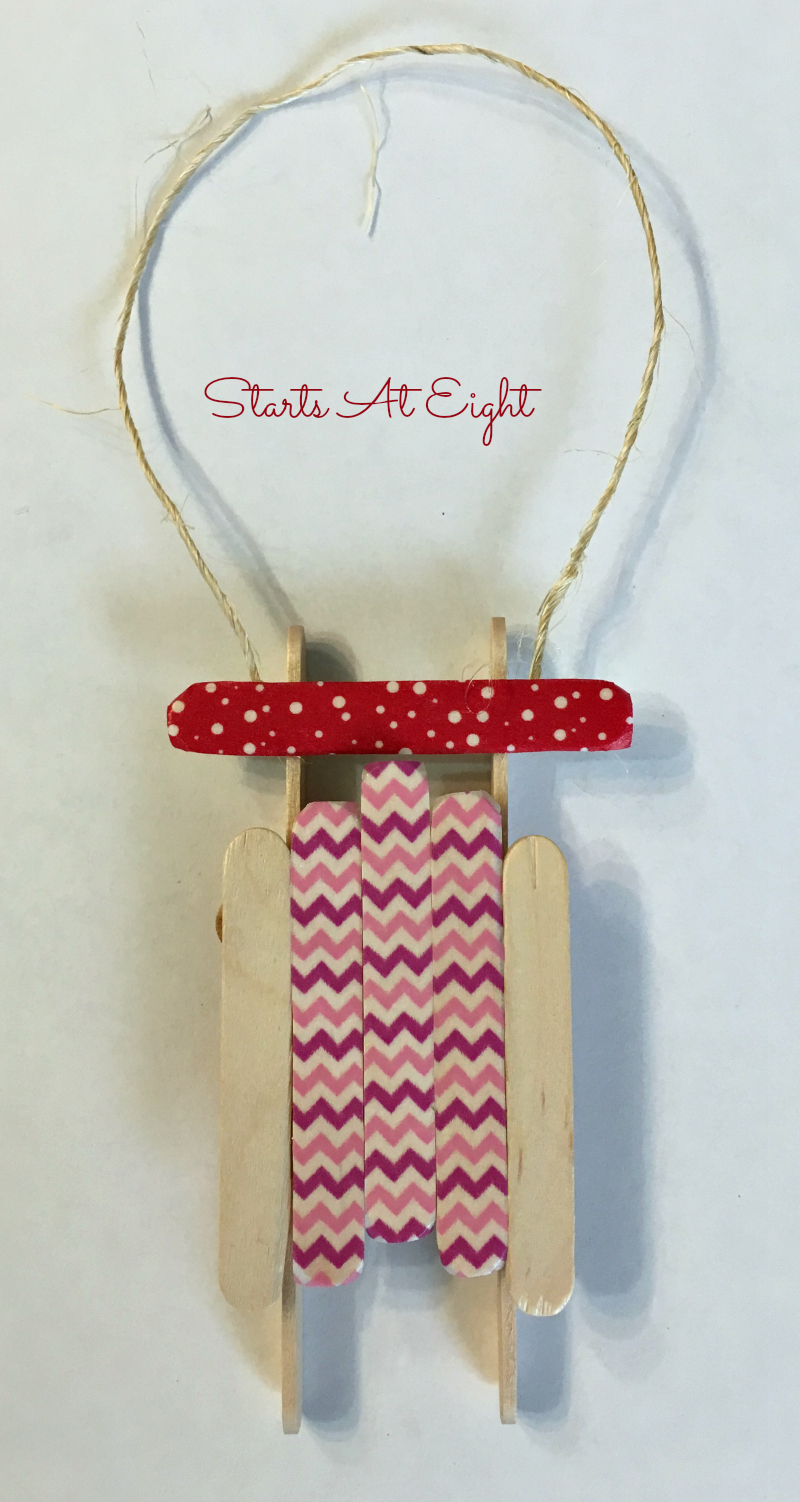
Supplies:
- Washi Tape – any supply of various patterns
- Scissors or Utility Knife
- Regular Sized Popsicle Sticks (3 per sled)
- Mini Sized Popsicle Sticks (6 per sled)
- Hot Glue Gun
- Twine
Directions:
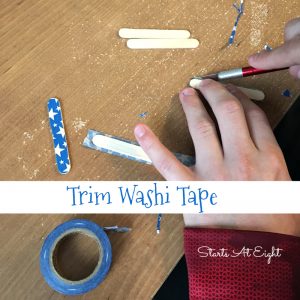
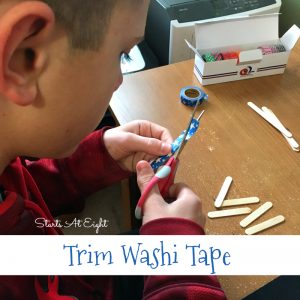
Cover each one of the Popsicle sticks (minus one regular sized one) in Washi Tape by cutting a piece long enough to lay the Popsicle stick on. Lay the stick down on the sticky side of the tape, then flip it over and trip the excess Washi Tape with scissors or a utility knife.
To build the main part of the sled lay the short sticks in the shape you want them, cut small sections of the 1 plain stick small enough to fit across. Then use the hot glue gun to attach them together.
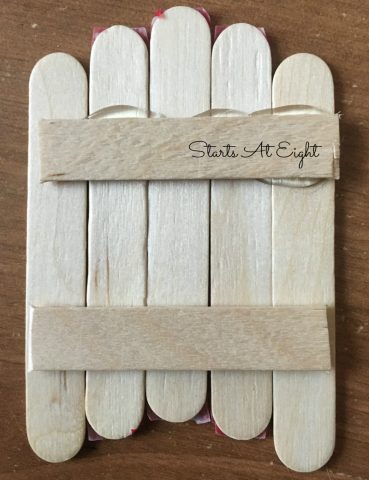
The other two long sticks (that should be covered in Washi Tape), will become the runners on the sled. Place a dab of hot glue on both ends of each of the cross pieces on the bottom of your sled. Then place the sticks on their edges and hold until the glue sets.
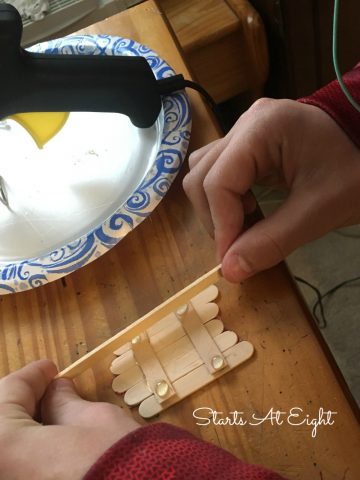
After the runners are set, turn the sled onto them. Dab hot glue on each of the runners to place the last small stick across the top for the handlebars.
Then add twine for hanging.
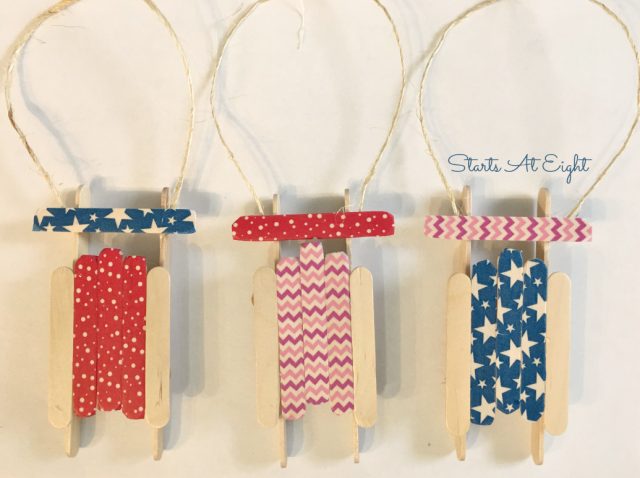
NOTE: These can easily be personalized by adding a photo to the sitting space on the sled. Print and cut a small photo in any shape you like. Use Washi Tape in a slightly larger size than the picture to create a cute frame.
Glitter Snowflakes
Supplies:
- Mini Craft Sticks (4 per snowflake)
- Glitter (any colors – we had green, red, gold, blue, silver)
- Tacky Glue (or hot glue)
- White Acrylic Paint
- Ribbon – colors you want to put with your glitter color choices
Directions:
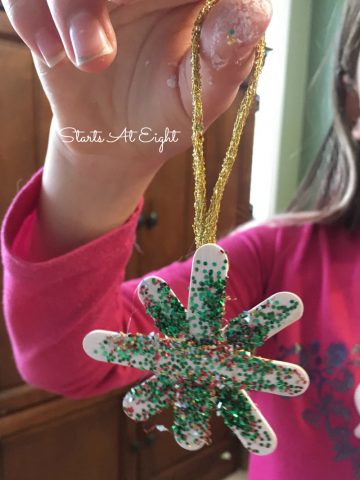
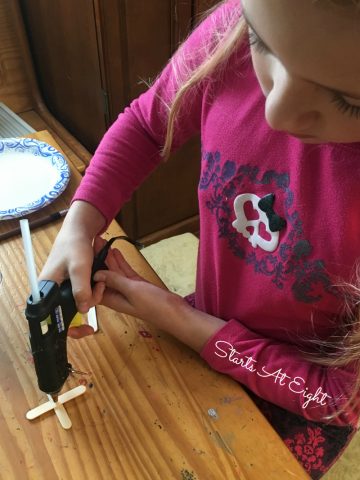
1. Glue 4 mini craft sticks together into the shape of a snowflake. Allow the snowflake to dry completely before painting. We used hot glue instead which dries quicker than the Tacky Glue.
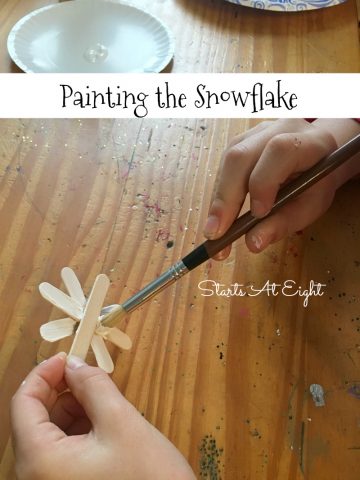
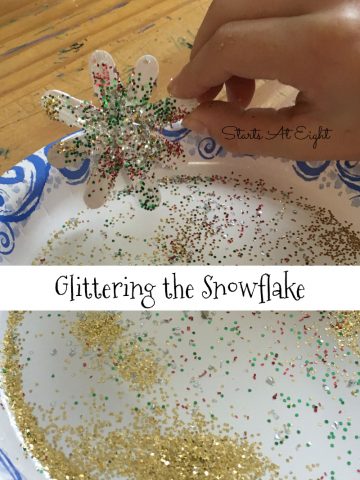
2. Paint the snowflakes. Immediately sprinkle glitter over the wet paint. Allow the snowflakes to dry completely.
3. Use glue to attach a loop of ribbon onto the back of each snowflake.
NOTE: These too can be personalized by printing a small photo, cut into a circle and glued to the center of the star. You could also add sequin embellishments!
Other Popsicle Stick DIY Christmas Ornaments
- Glittering Popsicle Stick Christmas Trees
- Popsicle Stick Snowman Craft
- Popsicle Stick Reindeer Ornament
- Popsicle Stick Nativity
- Yarn Wrapped Christmas Tree


30 + Christmas Art Projects to Enjoy with Your Children - Learning Mama
November 13, 2017 @ 7:06 am
[…] 32. Popsicle Stick Christmas Ornaments […]
47 Ideas Christmas Tree Decorations For Kids Popsicle Sticks - Easy Hairstyles
December 7, 2019 @ 1:40 am
[…] Source: Popsicle Stick Diy Christmas Ornaments For Kids – Startsateight […]