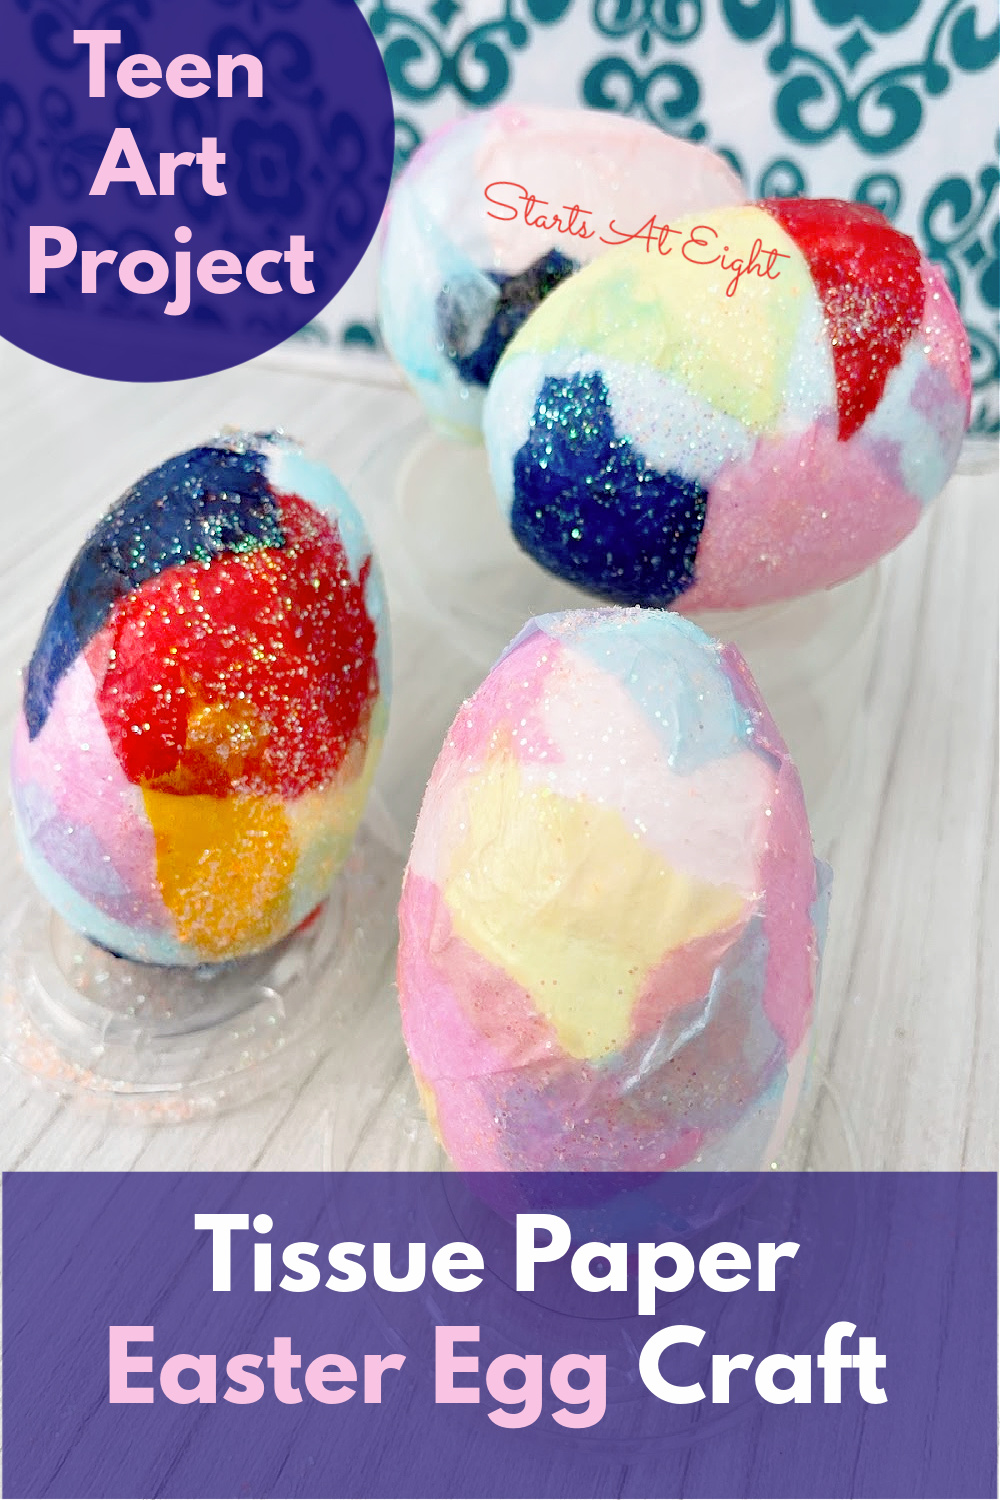
Teen Art Project: Tissue Paper Easter Egg Craft
As Easter approaches there is usually talk of Easter Egg Hunts, Easter Egg dying, and in our house chocolate bunnies of course! This year I found a new egg project to do with my older kids – Tissue Paper Easter Eggs.
During the pandemic our local library starting coming out with fun things the community could do virtually. One of the things they started was Art to Go! For Teens. Every month they provide supplies for a different project for teens. You pick the bag up at the library, take it home, and get to crafting!
This Tissue Paper Easter Egg Craft is what they shared for the March craft, in preparation for Easter.

Tissue Paper Easter Egg Craft
These Tissue Paper Easter Eggs are simple to do with just a few supplies, and something my daughters (age 14 and age 21) and I enjoyed doing together.
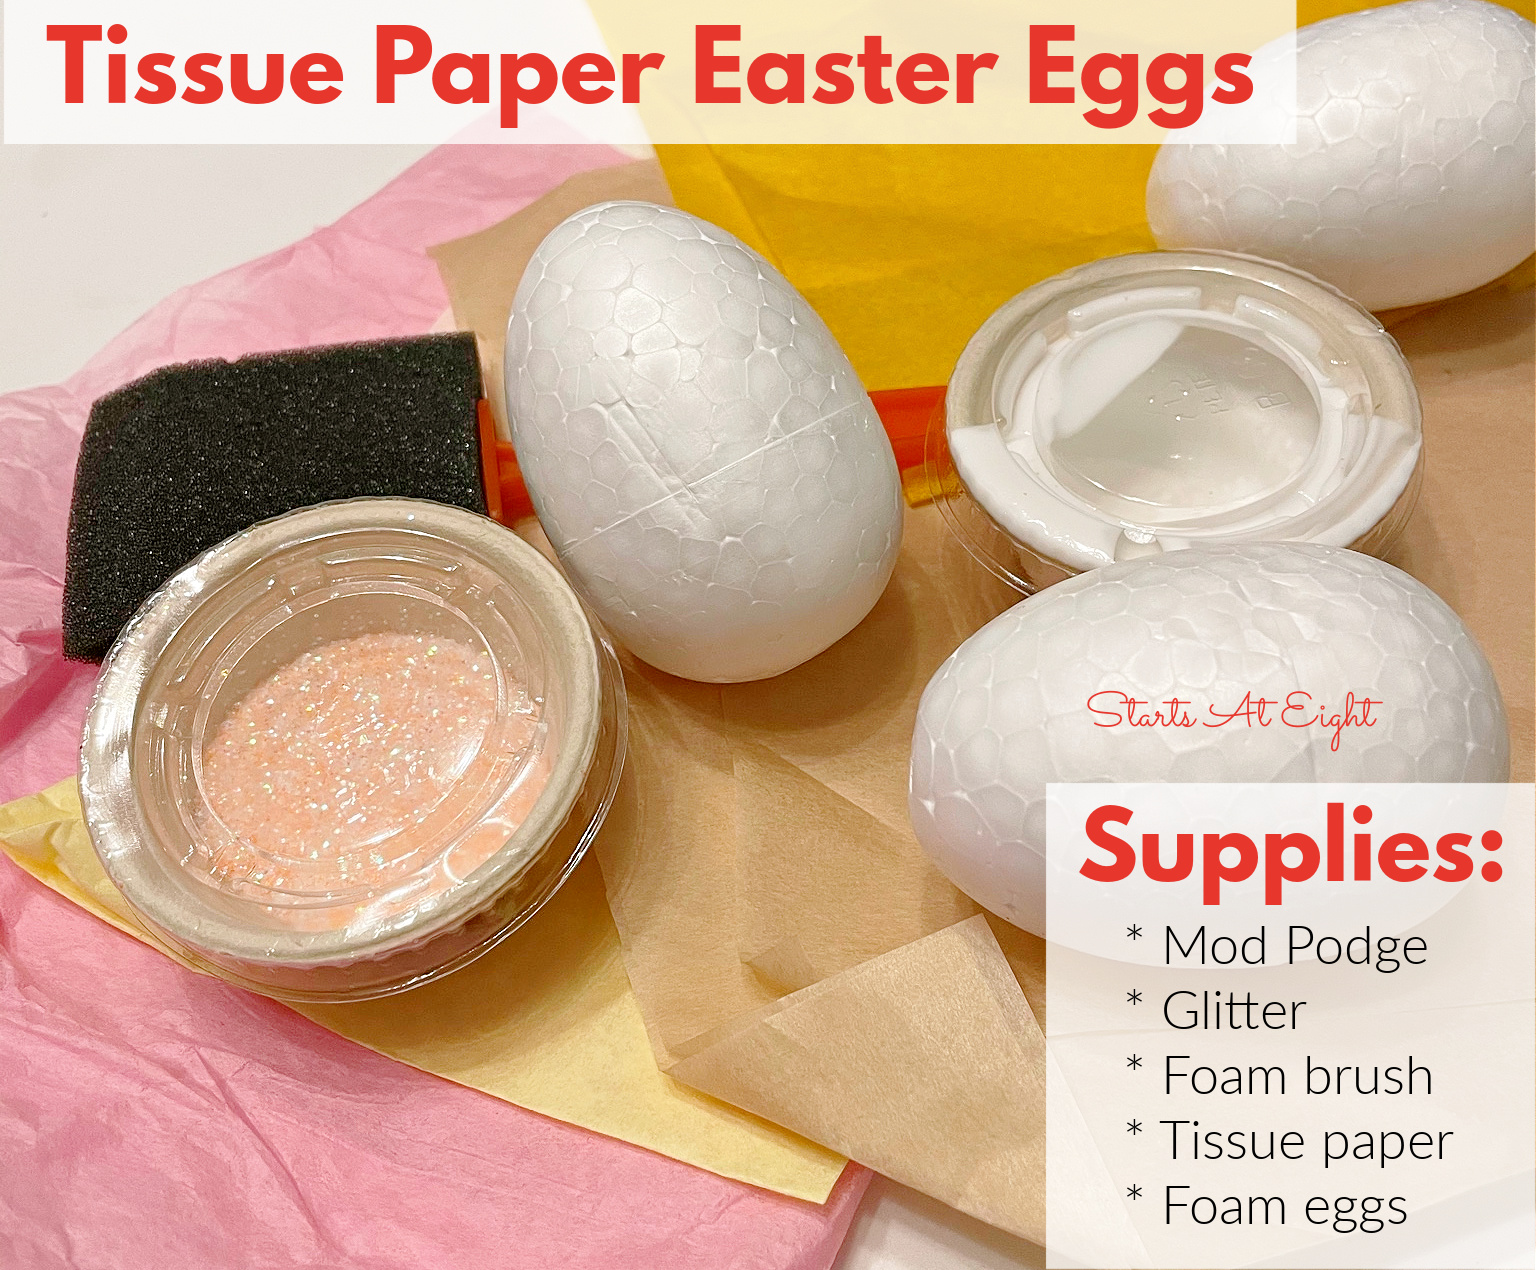
Tissue Paper Easter Egg Supplies

Had the library not provided the supplies, with the exception of the foam eggs, we had all the supplies on hand at home in our regular assortment of craft supplies.
Tissue Paper Easter Egg Directions
Before you begin be sure to find a workspace where the Mod Podge and glitter will be easily wiped up. We sat at our kitchen table.
Tear the tissue paper into small pieces. We found the smaller the pieces, the better they looked on the egg.
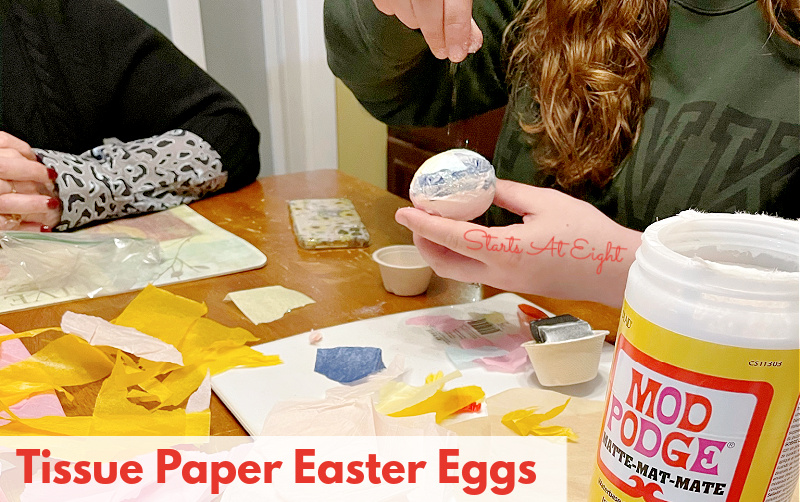
Paint a layer of Mod Podge on the egg. We started by only doing the top half of the egg so it was easier to hold without getting sticky right away.
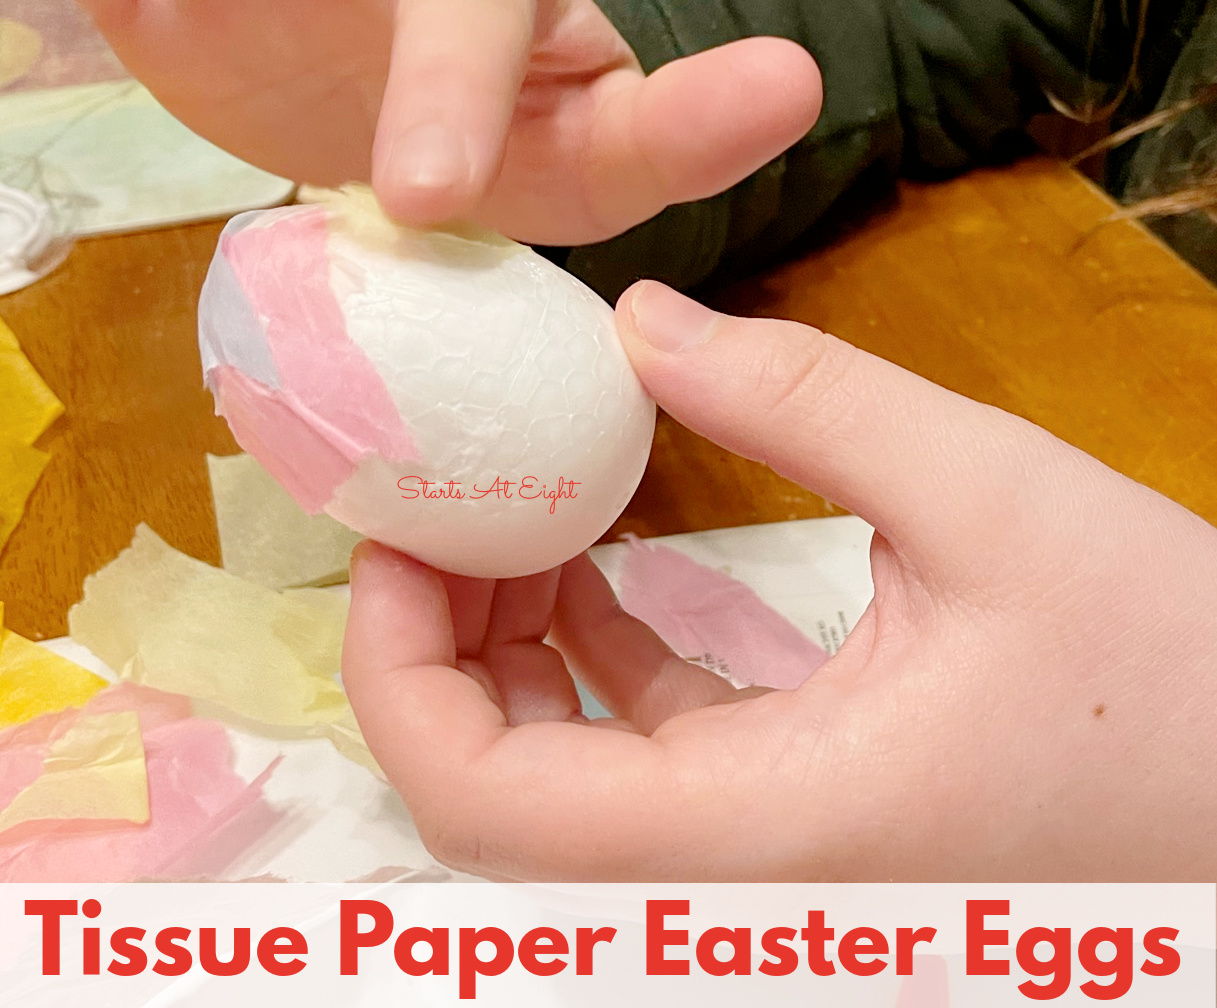
Apply torn pieces of tissue paper. Be careful not to tear the paper. When it gets wet with Mod Podge it is more easily torn. We also found it helped to smooth in one direction to get the tissue paper to lay down flat.

Apply another layer of Mod Podge over the entire egg once you have it completely covered in tissue paper.
Apply glitter over the entire egg. If you have the little sprinkler jars they work well, if not just pinch a little glitter between your fingers to apply.


